
How to make your own Hydrofoil
Mark Todd was asked in the Seabreeze forums about building hydrofoils, and was kind enough to share his knowledge with this article:
This covers the basic build for a simple hydrofoil. I never added up the material cost exactly but it’s probably around $400. The end result is foil which works well and is easy to learn on, not very fast, but fast enough. This obviously isn’t the only design that works, you could vary it quite a bit and I’m sure it will still work fine.
The basic foil is built on hand shaped plywood with a glass and carbon skin over it. Don’t try and skimp and do it without the carbon – it needs it to be sufficiently stiff.
None of the build is particularly hard, but it is very time consuming – so expect to be spending quite a few hours and don’t expect to finish in 1 weekend. If you’ve made a board before, the experience with laminating will give you a big head start.
Basic materials list:
- 4 kg epoxy resin (West 105 or similar) you probably won’t use all of this, but rather get more.
- 5m fibreglass cloth – 300gsm or similar
- 2-3m of carbon twill cloth – 3K is easiest to work with.
- Small bag of epoxy micro balloons for sanding coat
- 1 sheet 2400X1200 marine ply 3mm thick. Quality and finish is not critical
- Knead it or similar epoxy putty
- Stainless M6X50 countersunk capscrews with stainless nuts for wing fixing – need 5 but get extras
- Stainless M8 countersunk capscrews for attachment to board
- Selection of sandpaper from #50 grit to #600. More of the coarse stuff needed.
Tools:
- Jigsaw
- Angle grinder with sanding disc fitted
- Selection of clamps
- Digital kitchen scale for epoxy
- Table to work on
- A vacuum pump will make your life much easier – can be made from an old fridge compressor. You can however probably make do without one.
- Dust mask for sanding
Part 1: Fuselage/Mast
Make yourself a paper template of this shape, and cut it out of your plywood 3 times. Cut a bit oversize, say 10mm over each edge. Cut another 2 ply pieces out of only the fuselage (bottom of the T) because you need the fuselage a bit thicker than the mast.
- Laminate the ply pieces together with a layer of glass and epoxy between each layer, clamp or weight it down and try and make sure it all ends up flat without a bow in it. When it’s cured use your template again and this time cut it to size.
- Shape the mast strut to an airfoil shape using your angle grinder with sanding disc, no need to be too pedantic about the shape – basically rounded at the front and sharp at the back, something like this:
You can use the laminations in the ply to guide you as the different layers get exposed to keep it even and symmetrical
- Round of the edges of the fuselage to a torpedo shape and sharpen up the nose – think sharky. Blend the thicker plywood lamination on the fuselage section into the mast thickness.
- When you’ve shaped the front wing, cut out a hollow in the front of the fuselage where the wing will mount to. The underside of the wing needs to be parallel to underside of fuselage.
- Layup your fuselage and mast with 3 layers of glass/epoxy each side. Don’t worry about trying to wrap it around the leading edge/trailing edge too much. This is where a vacuum pump and bag really helps if you have one. Don’t worry too much if you end up with exposed wood gaps where the glass edges don’t quite meet up. Also don’t stress too much about the glass orientation – the main stiffness comes from the carbon you’ll add later.
- Resand the mast fuselage especially at the trailing edge of the fuselage where you want a sharp edge. Don’t worry if you expose wood again. What you need is to get the shape close to the finished shape, so when you add the carbon layers there isn’t much sanding to do and you don’t have to sand through the expensive carbon goodness. Leave the glass with a rough sanded texture, but make sure all the divots and bumps are gone.
- You should be up around 15mm thick now on the mast – 3 layers of ply with glass between and then 3 layers glass each side. Don’t worry if it’s thicker than this, but you probably don’t want to be under about 13mm.
- Laminate 3 layers of carbon onto the mast/fuselage each side. Try and do 2 at + and - 45º angles to the mast and 1 at 90º and give it a final sand.
- You now need to add the baseplate onto the mast that will mount to the board. Cut out of 9mm ply a shape like this (including the airfoil shaped hole the mast will slip through). Don’t drill the 4 holes in now – they only come later after lamination.
Epoxy this to the top of your mast and laminate carbon onto it both sides and about 100mm up the mast. Do lots of layers – this needs to be strong. I do this upside down by using small panel pins as dowels into the base of the foil mast and into a sacrificial piece of melamine wood (typical kitchen shelf) on the table and use wire stays from the foil t –joint down to the table edges to keep the mast and base plate in place while you laminate it.
Sand again, paint on a mix of epoxy and microballoons (sanding coat) and final sand the whole fuselage/mast.
Part 2: Front wing
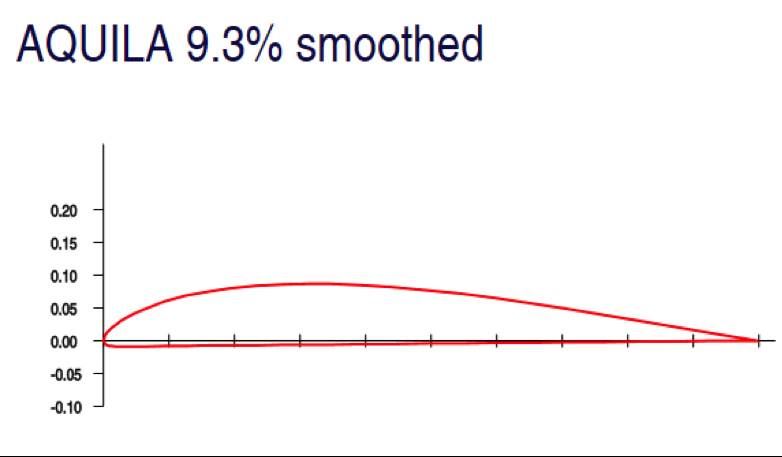
Any shape along these lines should be fine. If you use straight lines it would probably work ok – aim for a total area of about 600cm^2.
- The basic core of the foil wing is 3 layers of 3mm ply, laminated together with glass between them (same as the mast). I’ve been laminating mine on a wooden former to get some dihedral (downwards droop) into them, apparently dihedral makes the foil more stable – I couldn’t really tell, I never tried a flat wing – my guess is with a medium aspect foil like this is that flat would still work ok.
- Cut out your final shape with the jigsaw:
- Sand your foil shape into the wing, you’re aiming for something like this:
Again, don’t stress too much about the exact shape, do however make sure you keep the chord to thickness ratio consistent – in other words the wing must get thinner as you go out to the tip – same as any surfboard fin.
(Ignore the cutout at the middle, which was for another design of fuselage)
I made my wing with some anhedral (downward curve) by doing the original ply lamination on a wooden former and pulling the wing down to the former during the cure. You could probably do the same on a green wheelie bin and use a tie down strap around it to pull the ply down.
- Laminate same as the mast – 3 layers of glass, sand back to shape, 2-3 layers of carbon, sanding coat and final sand.
Part 3 – The stabiliser tail wing
Basic shape- Make this from 2 layers of 3mm ply laminated together (I made mine flat – no dihedral of anhedral)
- Shape in the airfoil shape, same as the main wing but reversed (the curved side is on the bottom) because the stab is actually working by pulling downwards to counteract the pitching moment of the wing and the forwards pull of the kite lines.
- Same glass and carbon schedule again.
Part 4 - Putting it all together
You want the wings to mate up really well to the fuselage – if need be build a “landing pad” on the fuselage on the fuselage using the epoxy putty and the wing as a mould with a bit of release wax or packing tape on it (so it releases). The front wing needs to be approximately flat (underside of wing perpendicular to mast) and the back wing to make a little bit of a negative angle of attack (leading edge lower than trailing edge by about 2-3mm).
To mount the wings, use 6mm countersunk capscrews, (3 on front wing, 2 on rear does the trick) drill right through the wing and fuselage and then counter bore from the other side and epoxy in stainless nuts. You can put a layer of carbon cloth over the nuts/epoxy to make them invisible if you feel the need. Make sure to seal the holes through the exposed wood with epoxy to stop the wood from soaking up water.
For a board, you could use any board, or make a simple one to suit. You need to suitably reinforce where the foil will mount – if it’s a foam core, you’ll need to pull the foam out where the bolt holes will go and fill it with something like an epoxy/microballoon mix. You can’t tension the bolts properly if the bolt is running through a foam core – it needs something solid to resist the compression.
For foil positioning, this foil works best with the mast just about over the middle of the rear footstrap – however you’ll probably need to fiddle with this a bit depending on how your individual foil comes out.


Where to from here? Discuss in the Seabreeze Foiling Forums, or the Seabreeze Kitesurfing Forums


