Hi guys,
The discussion regarding deck repairs to boards reminded me of a technique, which is used to mount hardware to ¡§foam core¡¨ boats.
For further info from the net, try searching for "Stanchion installation on boats¡¨ or join one of the many board building forums.
The concept is to pour an epoxy plug beneath the skin of the board, which provides a strong base for mounting hardware. The plug needs to be a substantially larger diameter than the hole in the deck.
Figure 1. shows two types of fasteners most commonly used (there are many variations of these, try google images to view some).
„« Threaded insert where a female threaded insert is embedded in epoxy, into the substrate of the board. You use metal threads (preferably 318/316 stainless) to fasten your hardware (straps, plates, fins etc) to the board via the insert. This method is probably the strongest fastener.
„« Coarse threaded screws are another method of attachment, whether they are tapered type screws or coarse threaded metal threads (bolts). The coarse threads tend not to pull out as much when using smaller diameter screws.
Two methods of installing screws in your new epoxy are;
1. Use a self- tapping screw, wood screw etc. where a pilot hole is drilled to the correct diameter & depth into the new epoxy plug then the screw inserted. Experiment in a scrap block of epoxy to get the correct diameter.
2. Coat the screw/metal thread with a mold release agent, (proprietary mold release, vinyl floor wax, Mr. Sheen etc) then embed and support the screw to the correct position while the epoxy plug is still liquid, just after pouring. This will then form the required thread shape.
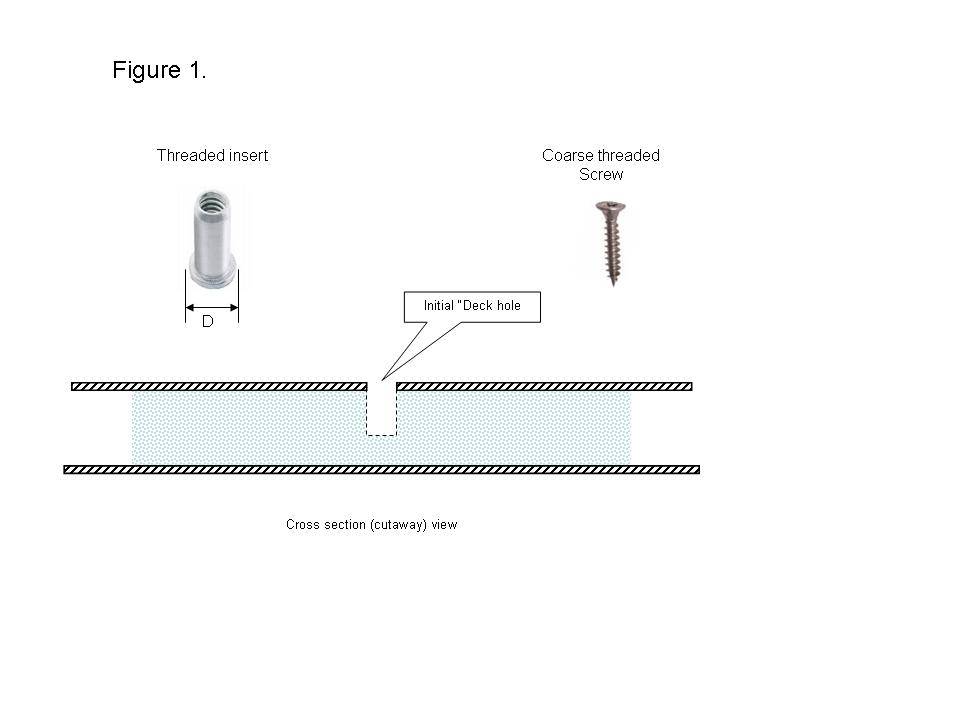
Figure 2.
If you are installing new hardware/mount positions in the board, mark exactly where the centre of the mount should be. ¡Kthen re-check your measurements !!
If you are re-constructing repairs, then the position will be obvious & won't require exacting detail until installation of the fasteners.
Drill a hole, (if one does not exist already), to the correct depth required to accept the screw or insert.
Take care not to drill through the bottom skin of the board !!
The "deck hole" diameter will be governed by the diameter of the insert (shown as measurement "D") or a comfortable size bigger than the screw and that you can manipulate the Allen key into.

Figure 3.
Mark your Allen key to gauge the correct depth you require, (just use some masking or electrical tape).
Then carefully maneuver an Allen key into your initial access hole, as shown, in under the deck layer. Carefully rotate the key, by moving the drill chuck & key by hand at first to begin the process.
As soon as you can comfortably keep the key shank vertical, use a variable speed drill to CAREFULLY ¡§mince¡¨ the foam substrate. Take care not to chew out your initial deck hole or the deck skin from below. Practice on a scrap bit of Styrofoam first !!
Vacuum or pick the minced foam out via your deck hole.
You should now have a "disk" shaped void beneath the initial deck hole, ready to be used as a mold for your epoxy plug.

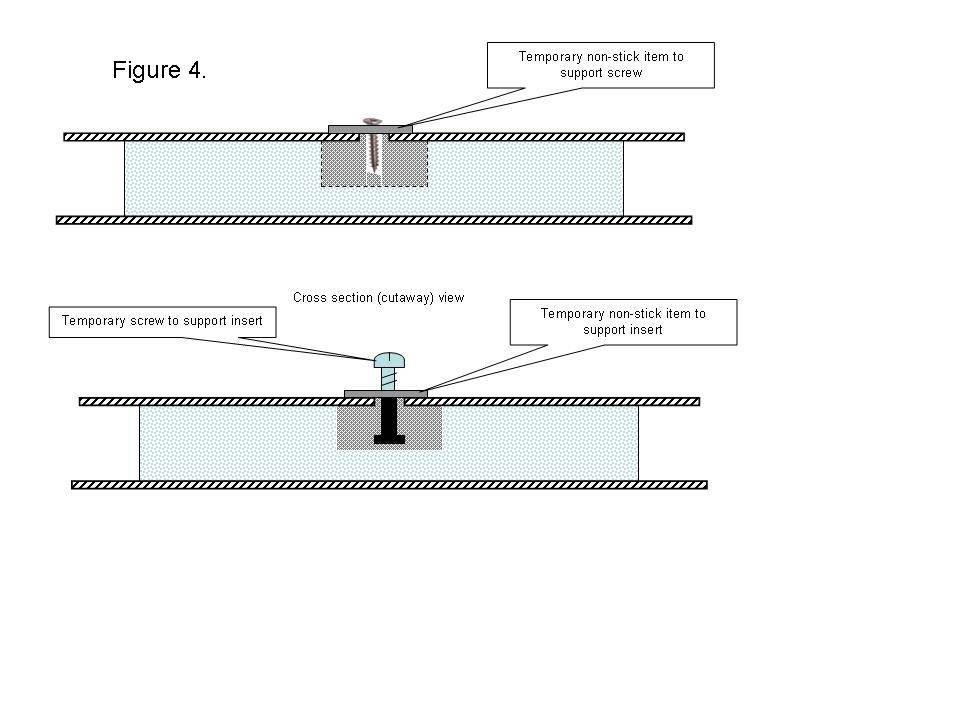
Figure 4.
Carefully fill the void with epoxy mix. You can use a syringe (no needle required) to pipe the mix into the void.
DO NOT use found/discarded syringes/needles, the risk from infection far outweighs buying a new (non medical) type of syringe.
OR - Use a plastic bag with a small hole cut from one corner to pipe the mix in.
NOTE ¡V if you use your partner¡'s cake icing piping bag you will need to discard it afterwards as you cannot clean them up !!
Mount your insert or screw in the mix and support until the epoxy has cured.
You can screw a metal thread into the insert to hold it in the correct position.
Now is the time to place the inserts etc. in exactly the correct position.
Be aware that any support blocks / washers etc. need to be coated to stop them becoming glued in place.
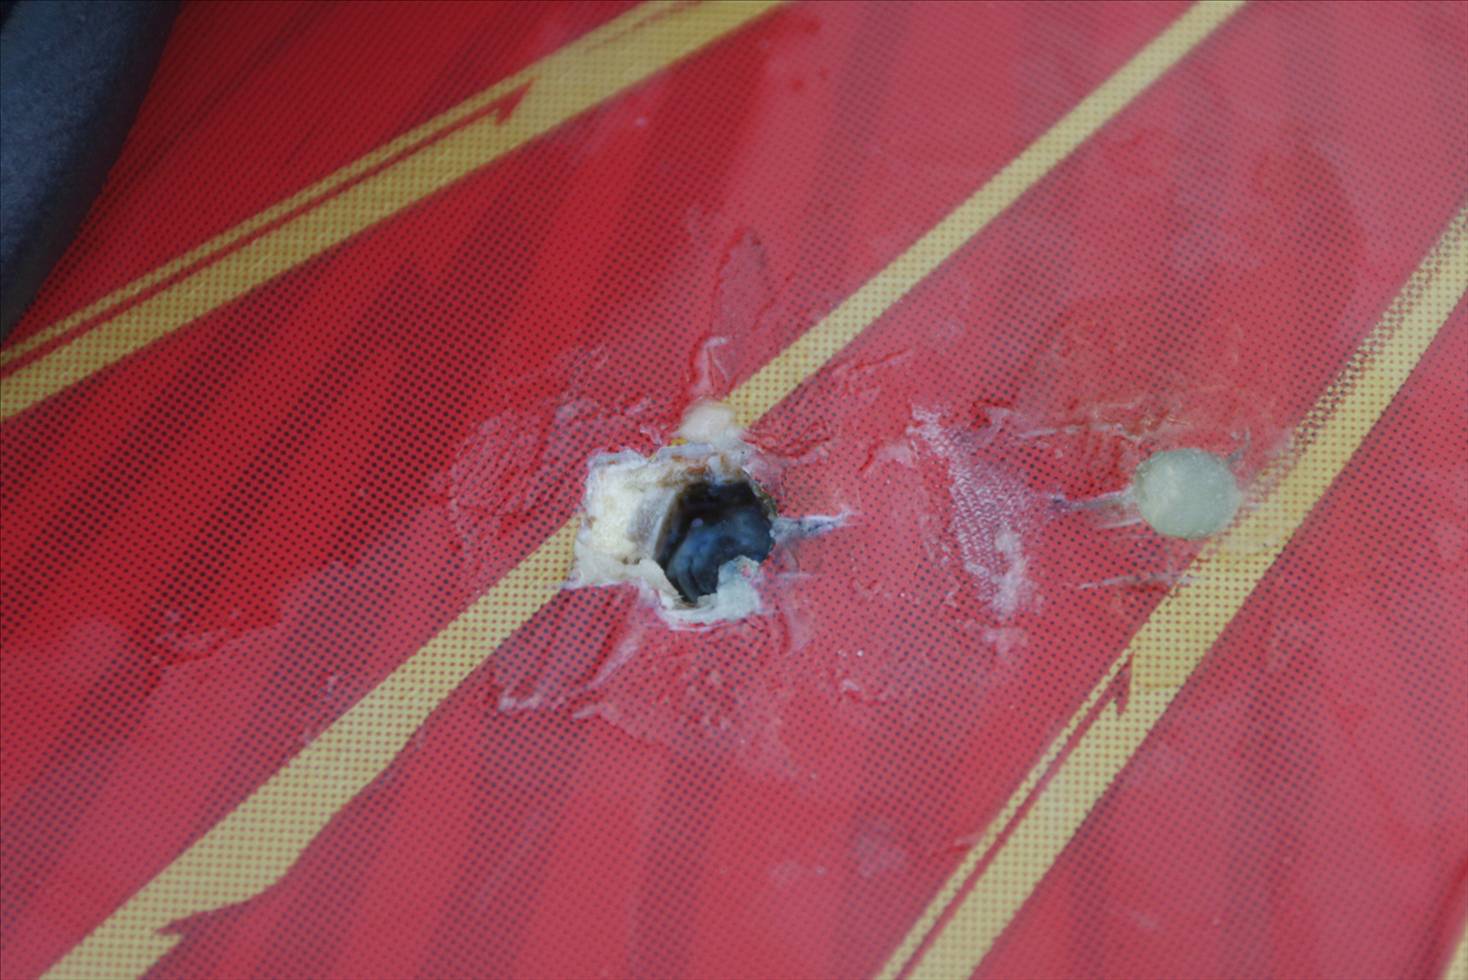
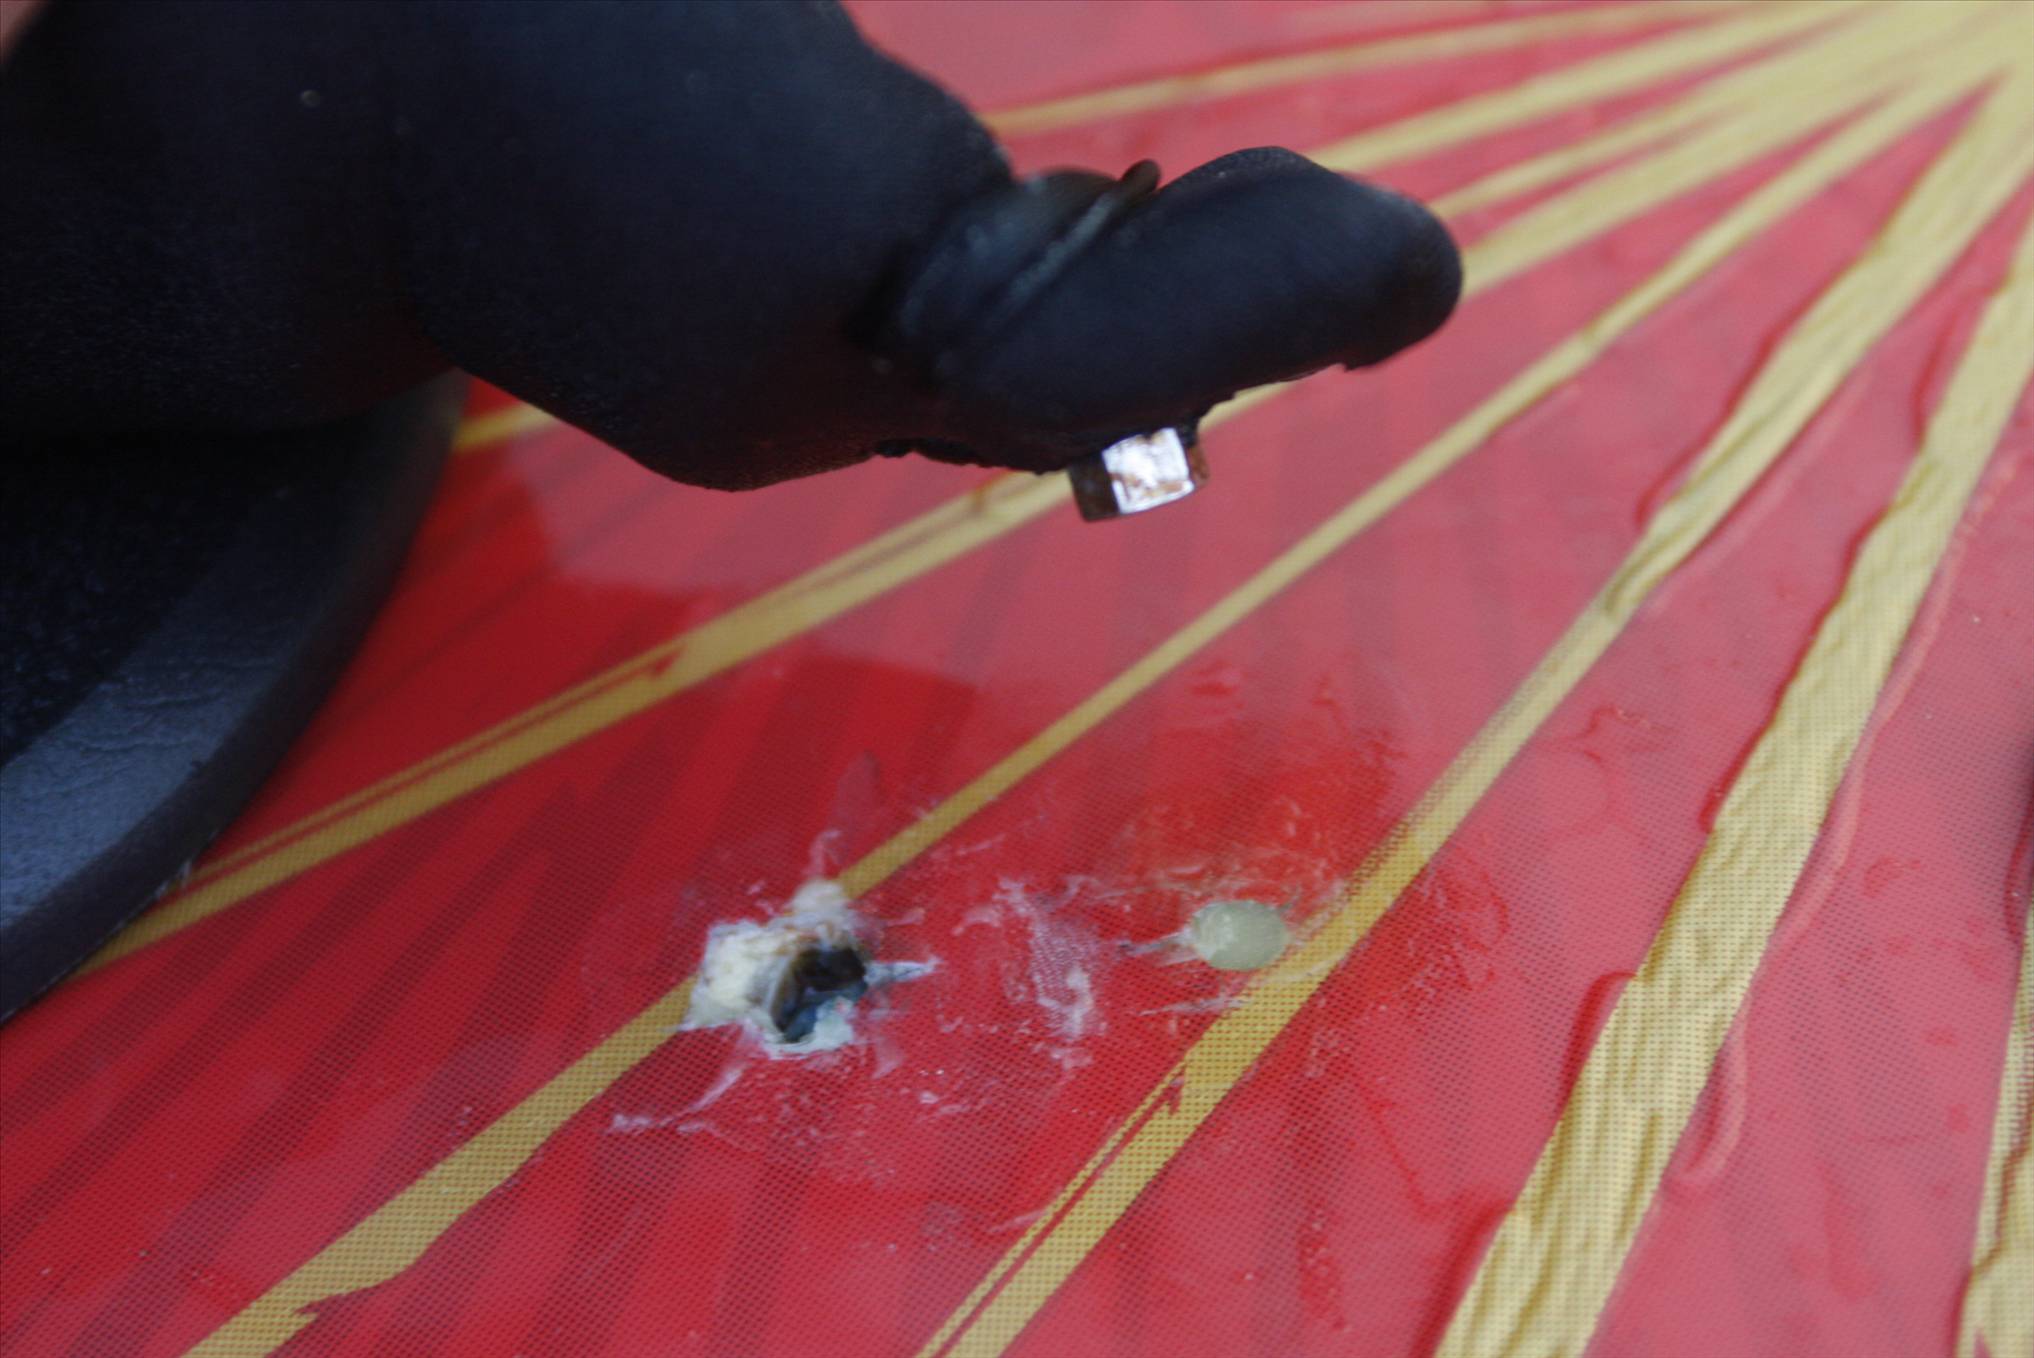
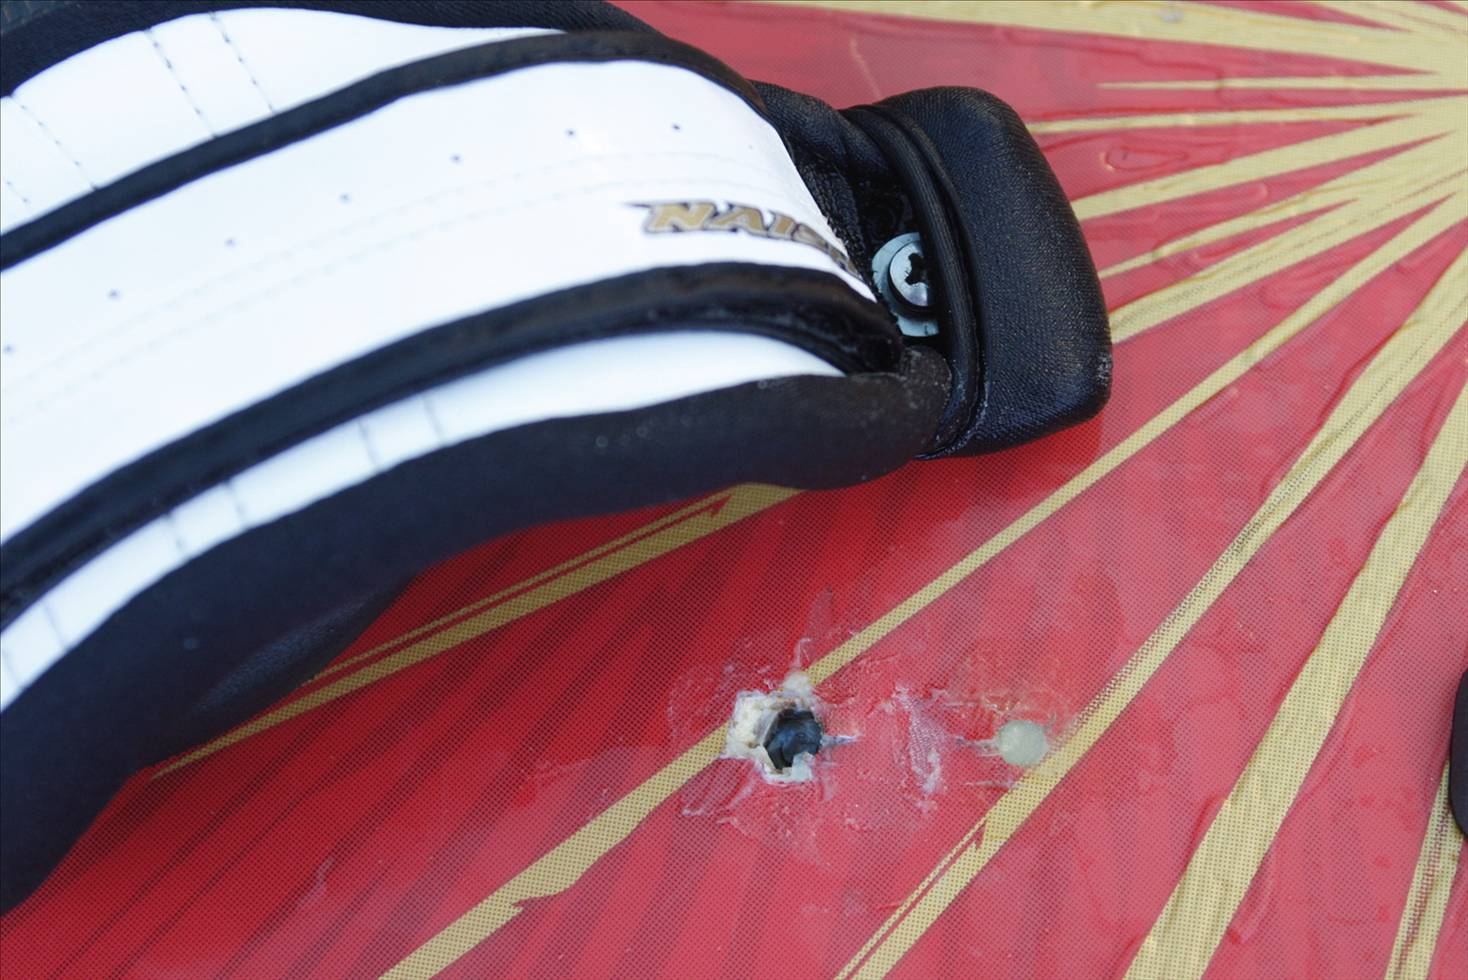
If you are careful with your application, there should be very little cleanup/sanding.
Fossil