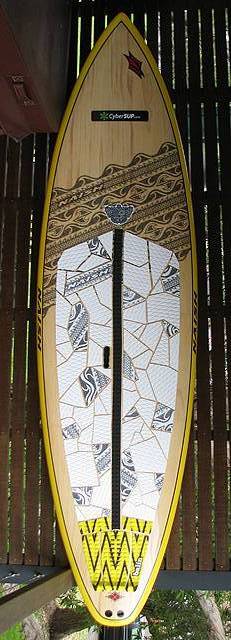
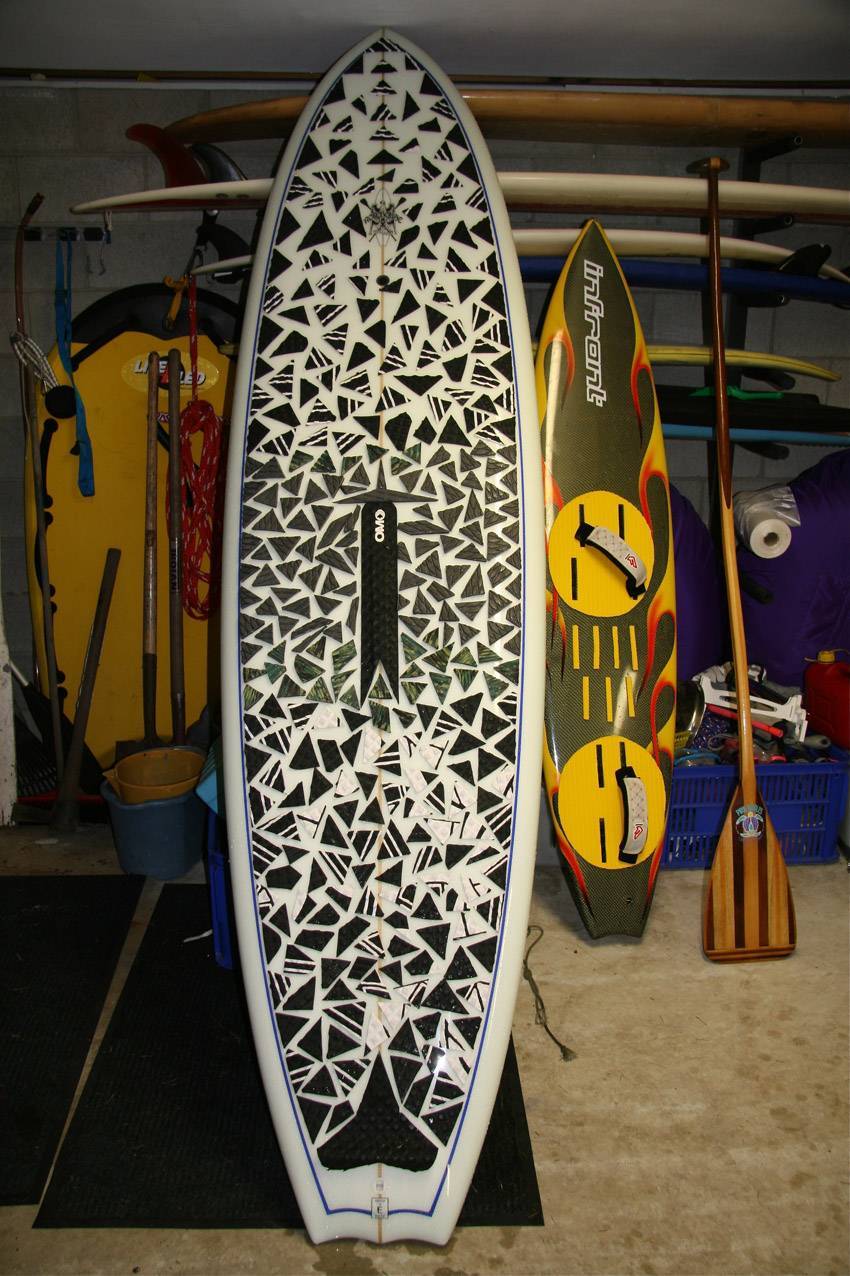
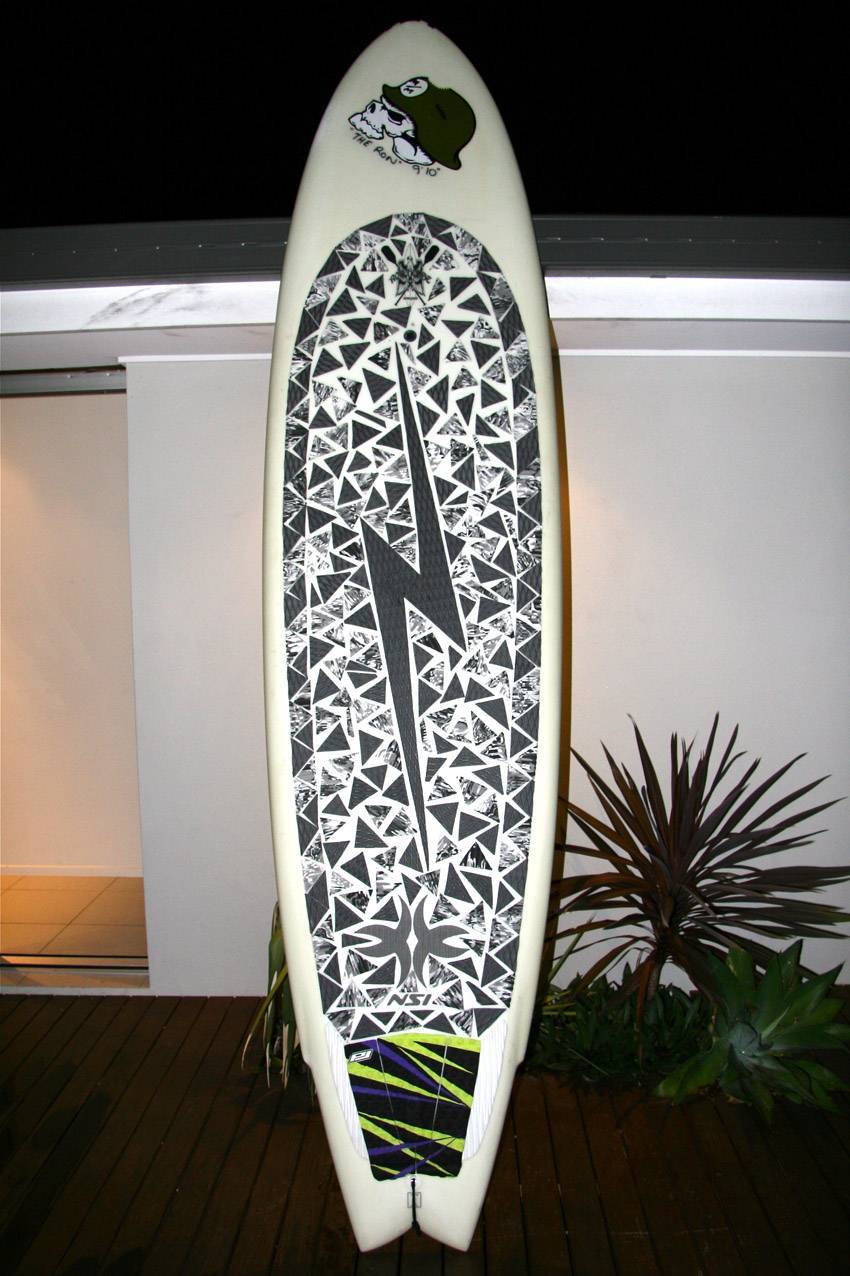
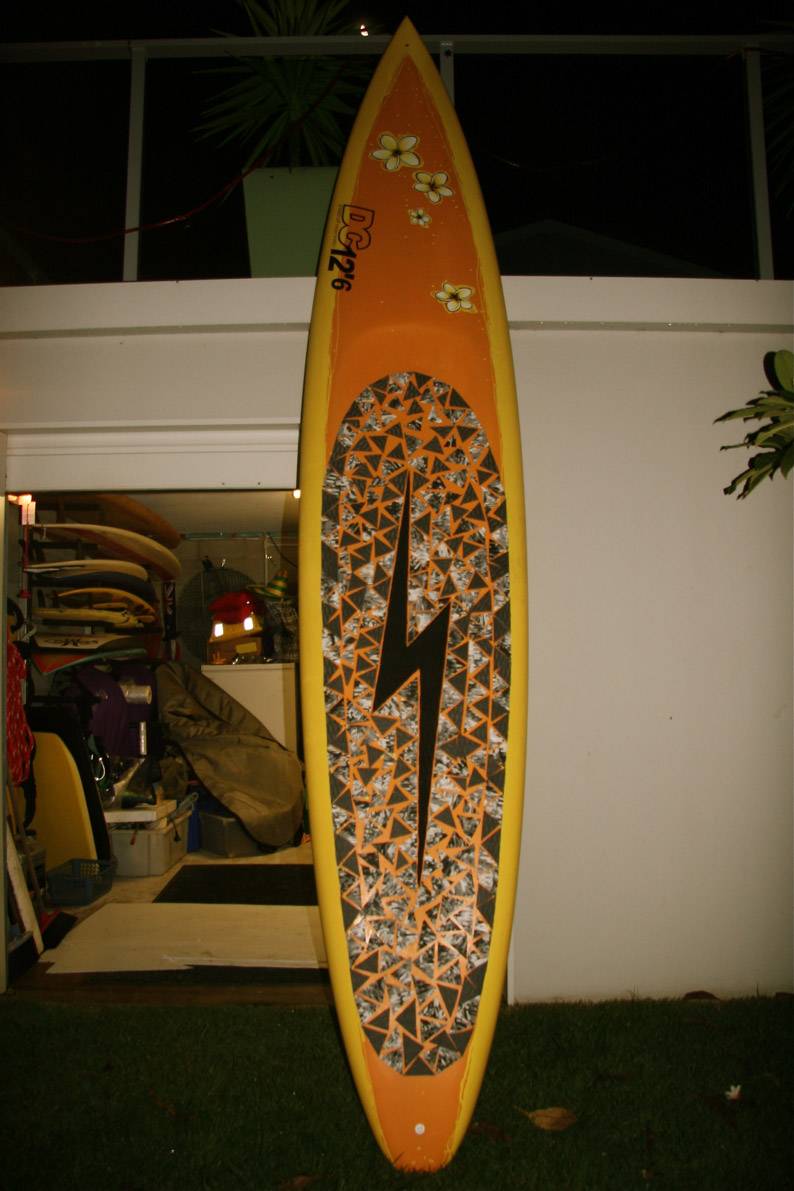
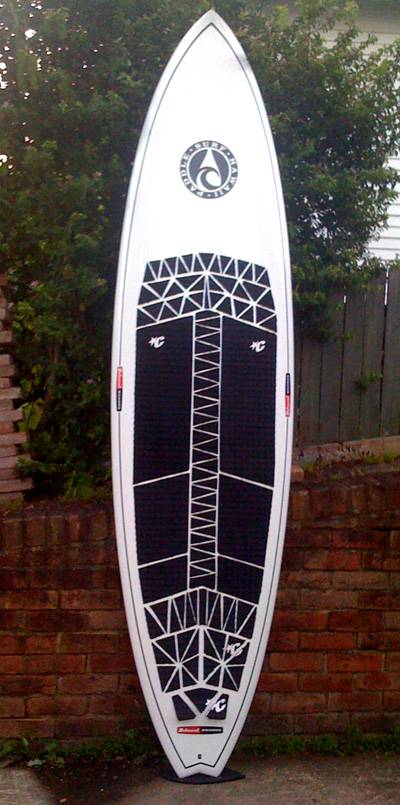
I prefer the design on my new PSH:

It's easier to do, looks better and feels great under foot.
Here's how I did it:
1. Use masking tape to define the outer border of the grip area required.
2. Cut two paper templates of the swirl pattern (one for the top and one for the bottom of each row of marble grip). This is so the swirls come out nice and smooth (I did the first one without the templates and it looked too messy so I had to rectify it with a Stanley knife).
3. Lay out the paper templates to create the first swirl area to be filled with marble strips. Keep them in place with a bit of sticky tape.
4. Cut some angled strips of your marble grip which will fill your first templated swirl.
5. Trim the first angled strip to the border tape and to the paper template (top and bottom) and stick it down.
6. Repeat the step 5 for the rest of the row.
7. Repeat steps 3 - 6 for all the marble swirls leaving a suitable space between them for the black triangles.
8. Cut out lots of equal-angled triangles from your black grip.
9. Place the black triangles along the bottom edge of the first marble swirl and stick them down. Ensure a suitable space is left between them.
10. Place black triangles along the top edge of the second marble swirl and stick them down.
11. Fill in the gap between your two rows of black triangles (looks like shark teeth) with more black triangles. You may need to create some smaller triangles or odd shaped bits to fill the gaps suitably.
12. Repeat steps 9 - 11 for the other gaps between the marble swirls.
Notes:
- I like using a tail pad but the grip would be fine too. Put the tail pad on first if you go for that option.
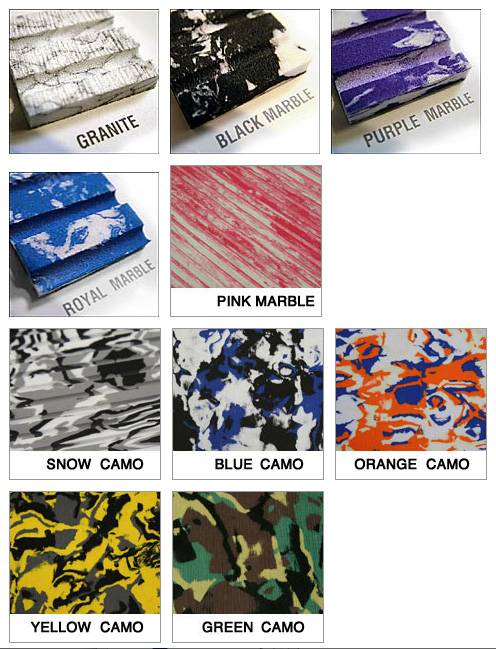
- Of course you can use any other colours besides grey marble and black.
- Make sure you use good quality grip (preferably with 3M adhesive) otherwise the pieces may move around and/or come unstuck. I haven't had an issue at all with my PSH which has top quality grip.