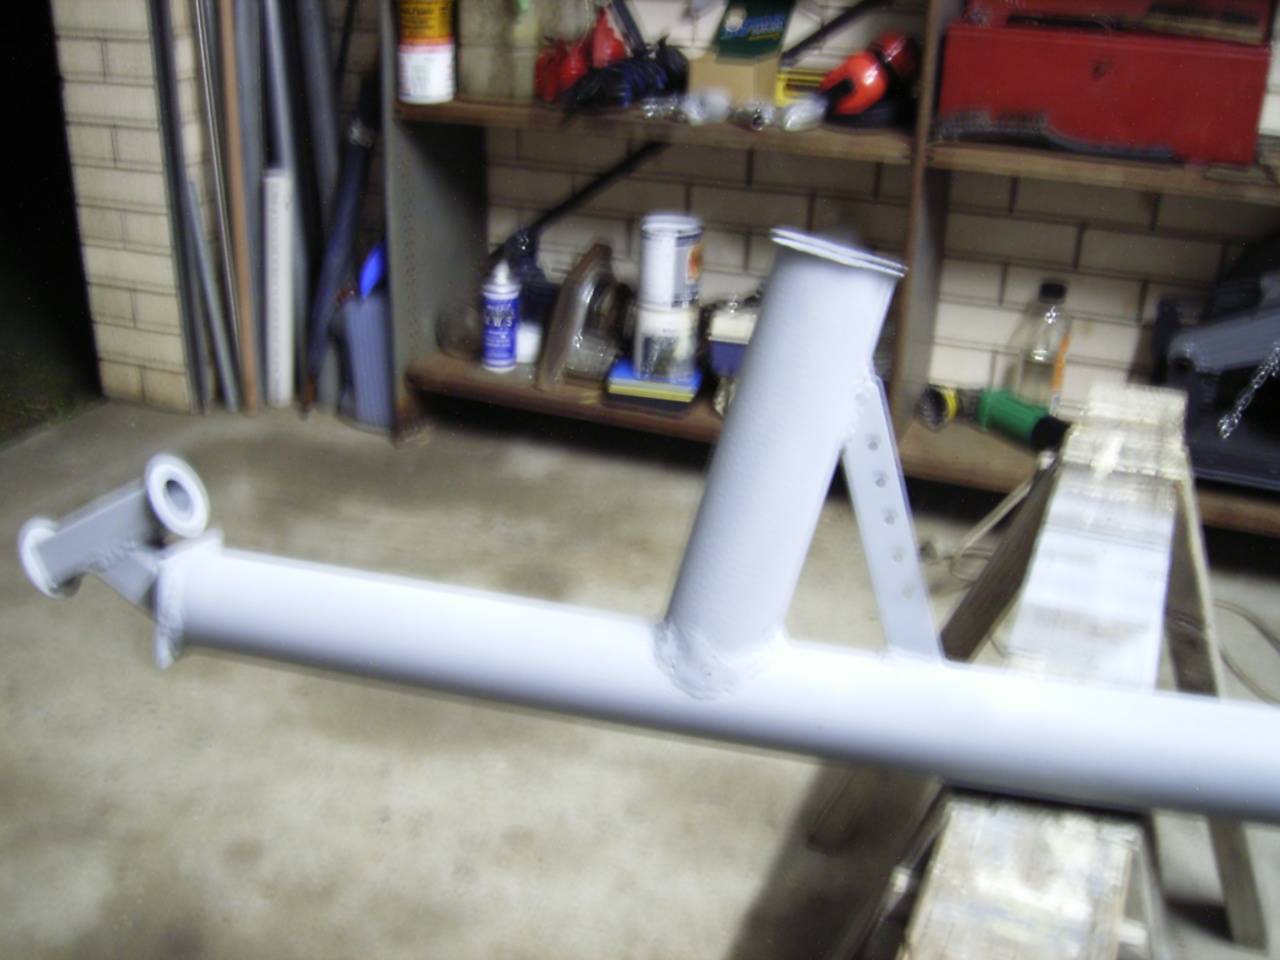
Final attachments and painting. After wire buffing all the welds, wiping the whole chassis with a clean rag soaked with epoxy thinners to remove grease etc, it was spray can painted with zinc rich "Cold Gal" which was overcoated with spray can Kill Rust single pack epoxy black gloss paint. This is a Wattyl product and doesn't seem to be particularly resistant to abrasion. Maybe the White Knight brand paints perform better.
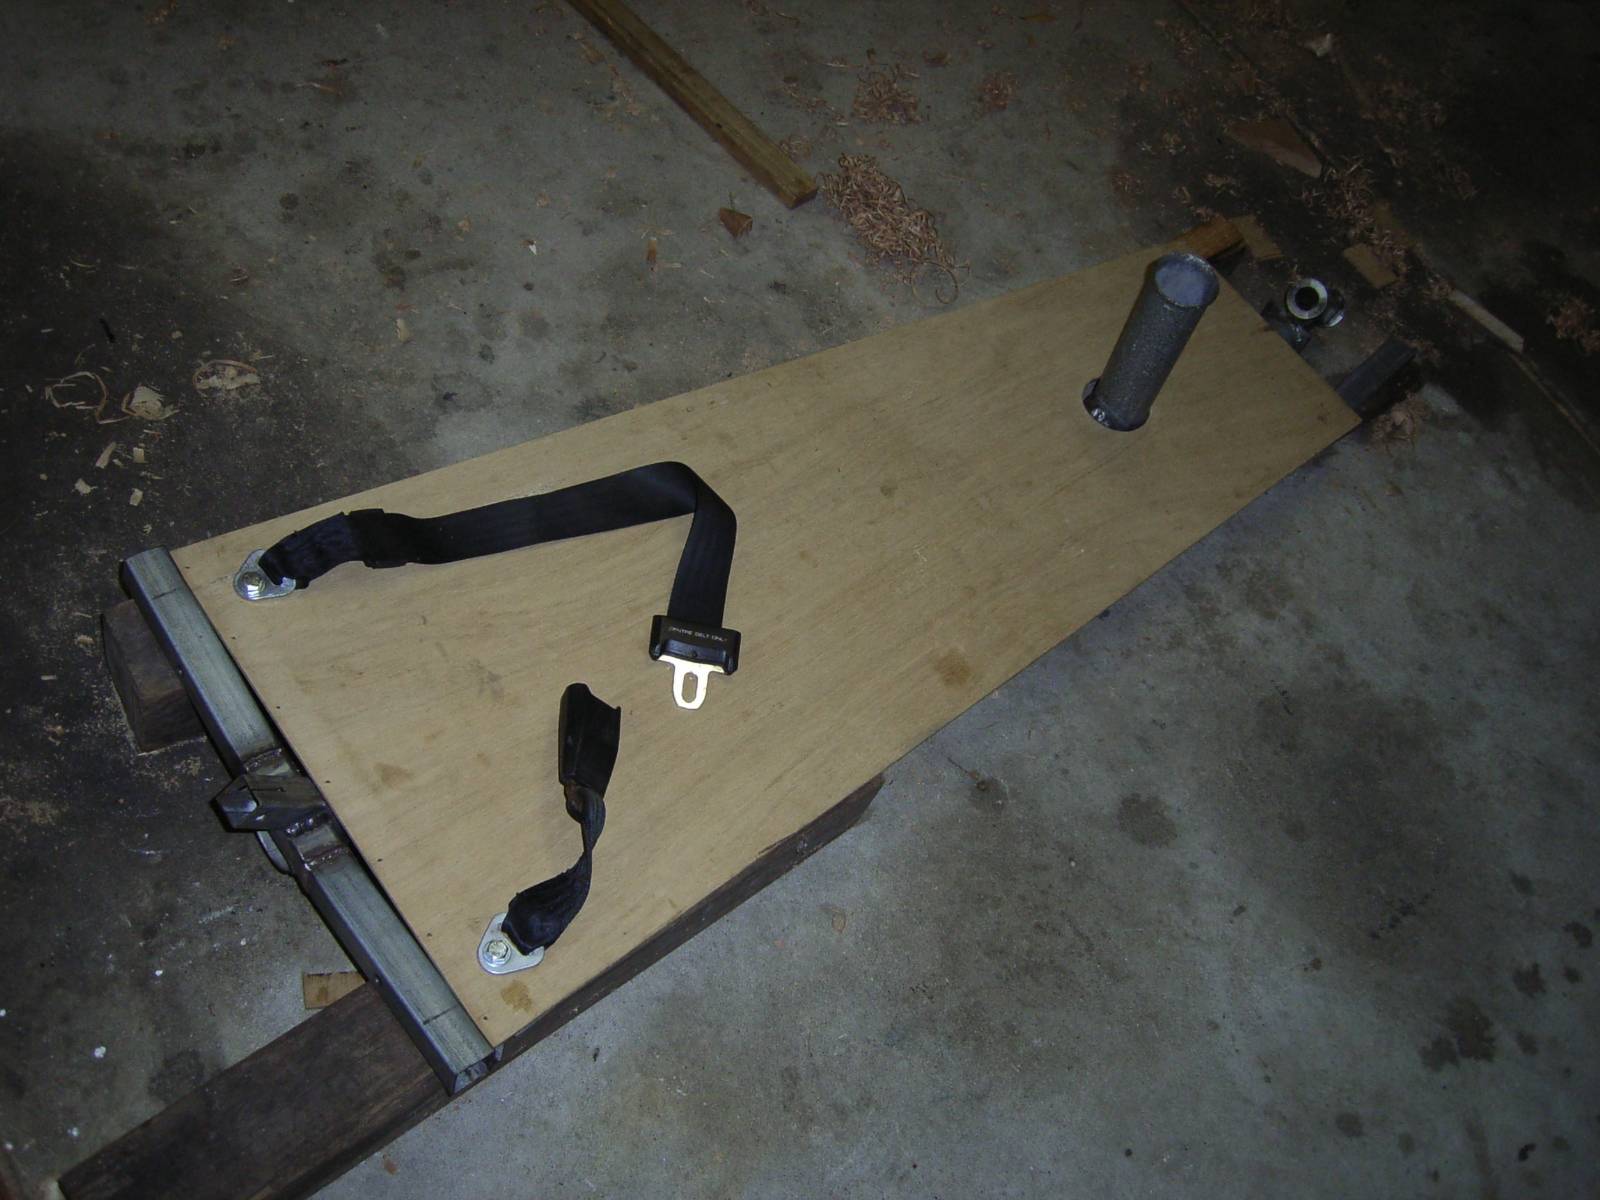
The seat got two coats of oil based interior/exterior varnish. There is another product which is an exterior timber oil which may be more suitable as it does not need any prep work to touch up scuffs and scrapes. The varnish is what I had on the shelf so I used it up.
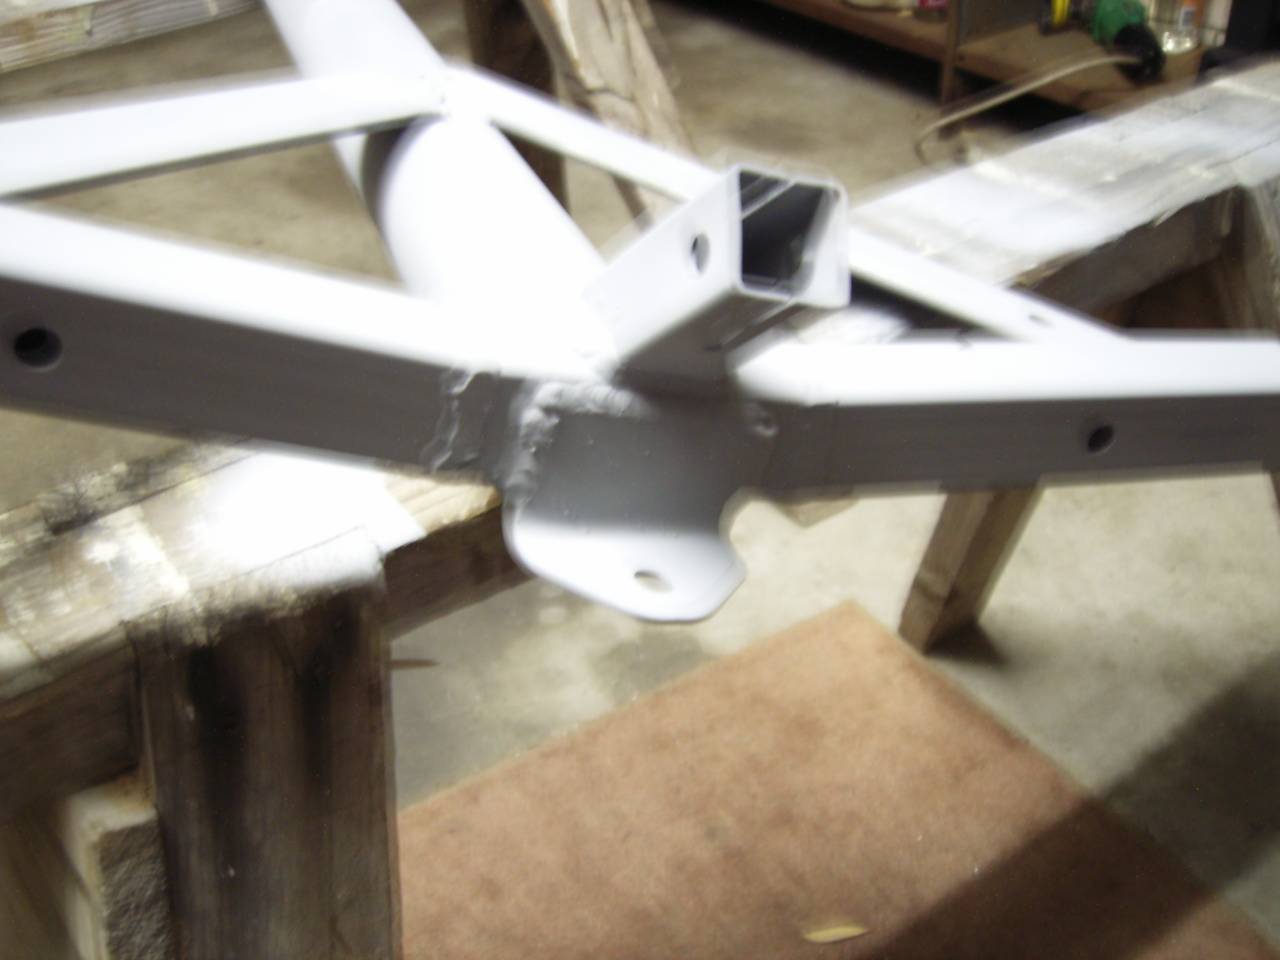
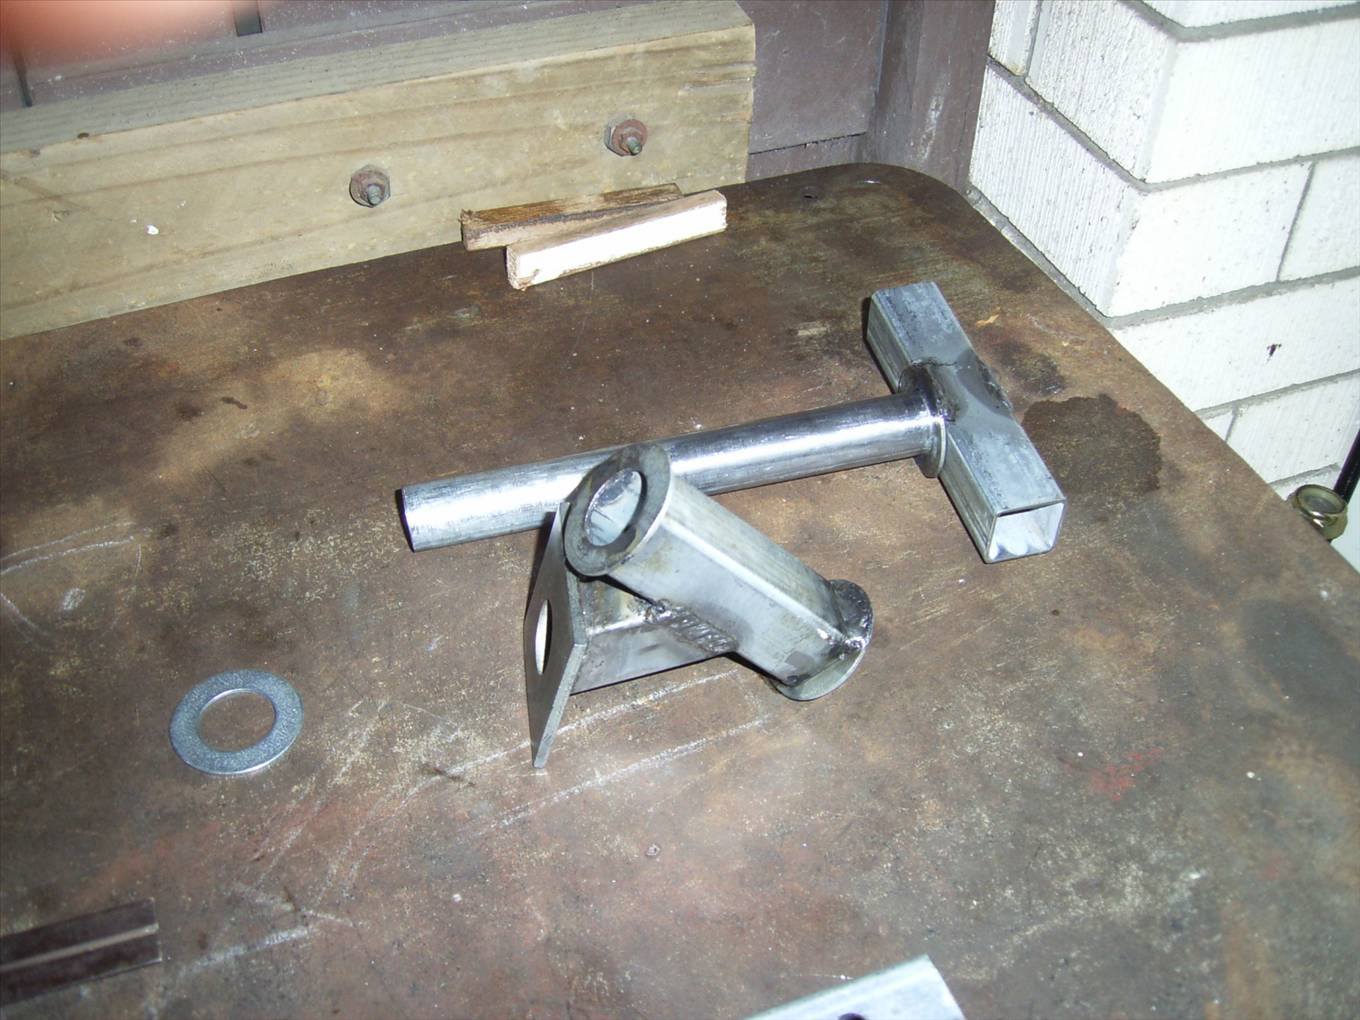
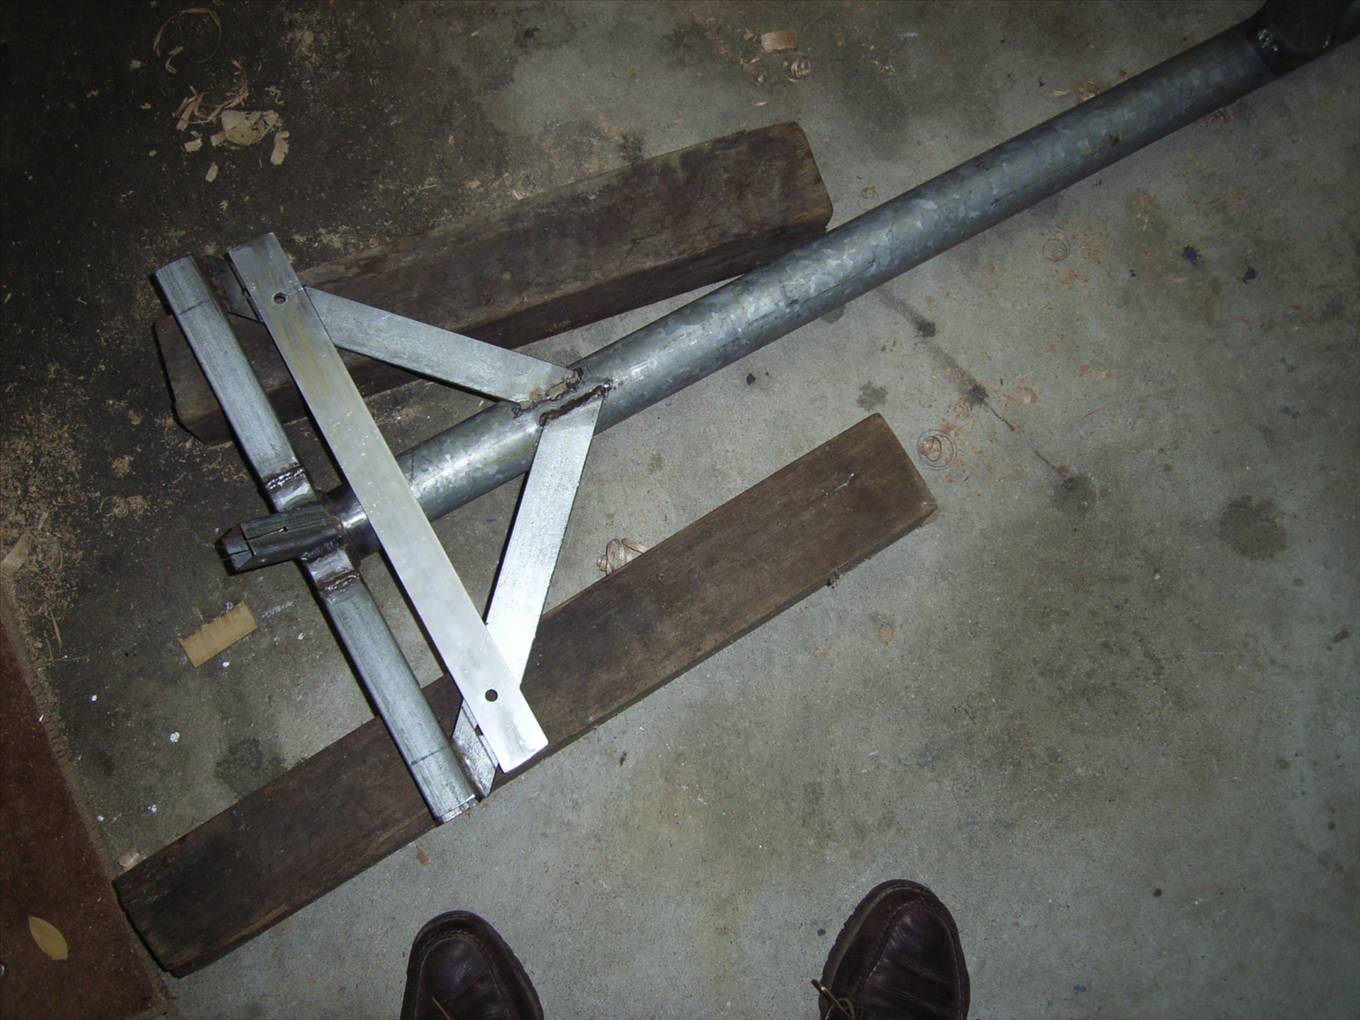
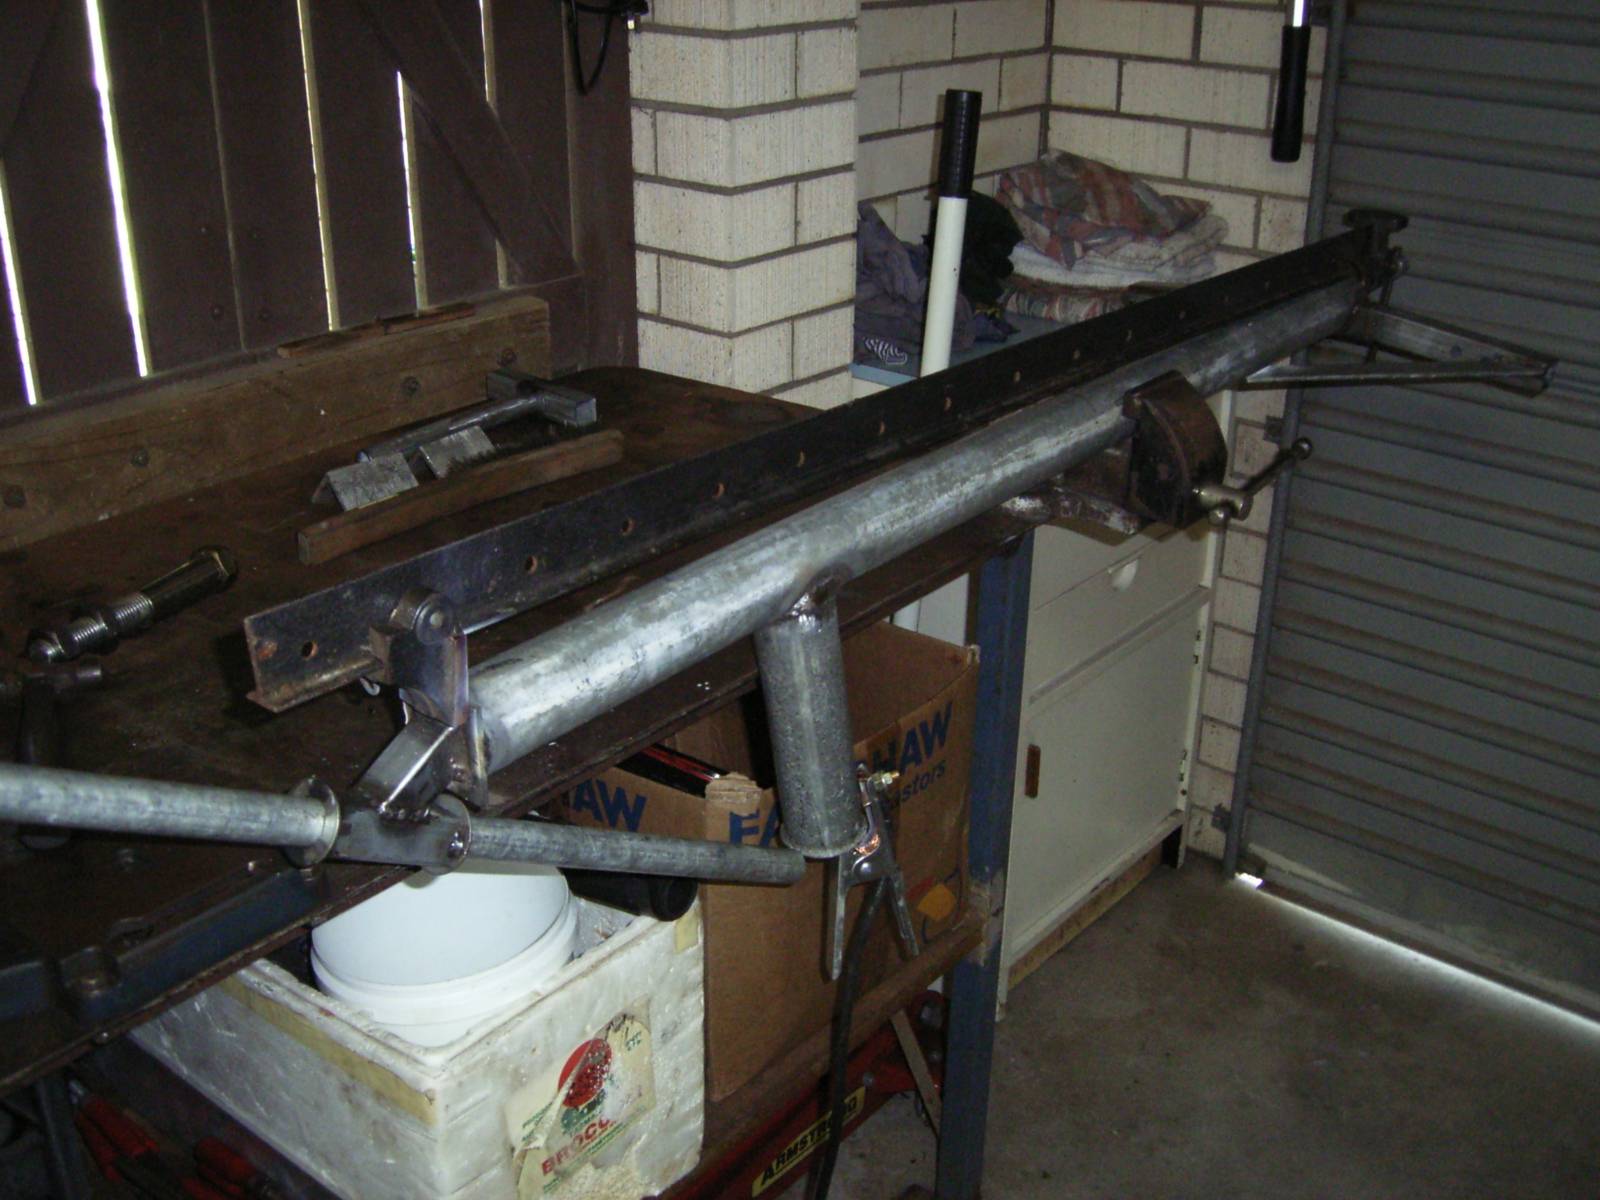
Towing lug. Sorry about the blurrieness of these pics. The paint fumes and beer got to me and I certainly felt it the next day.

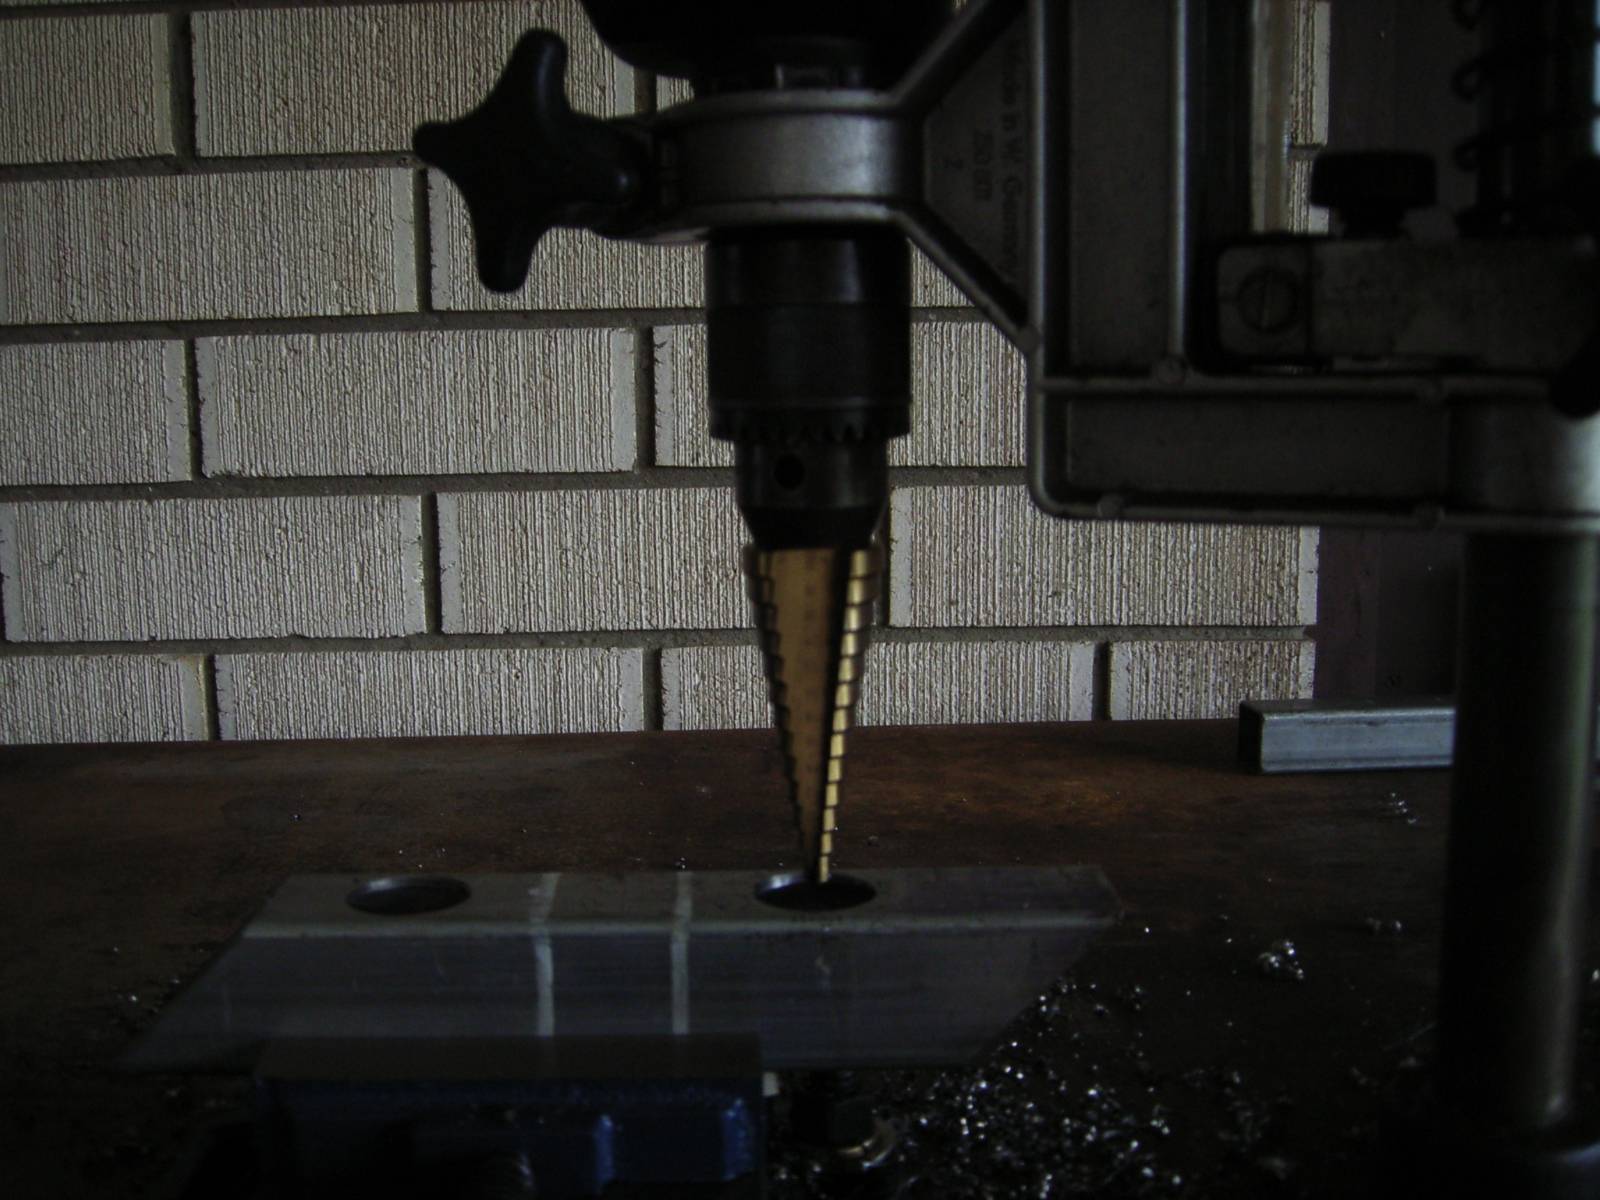
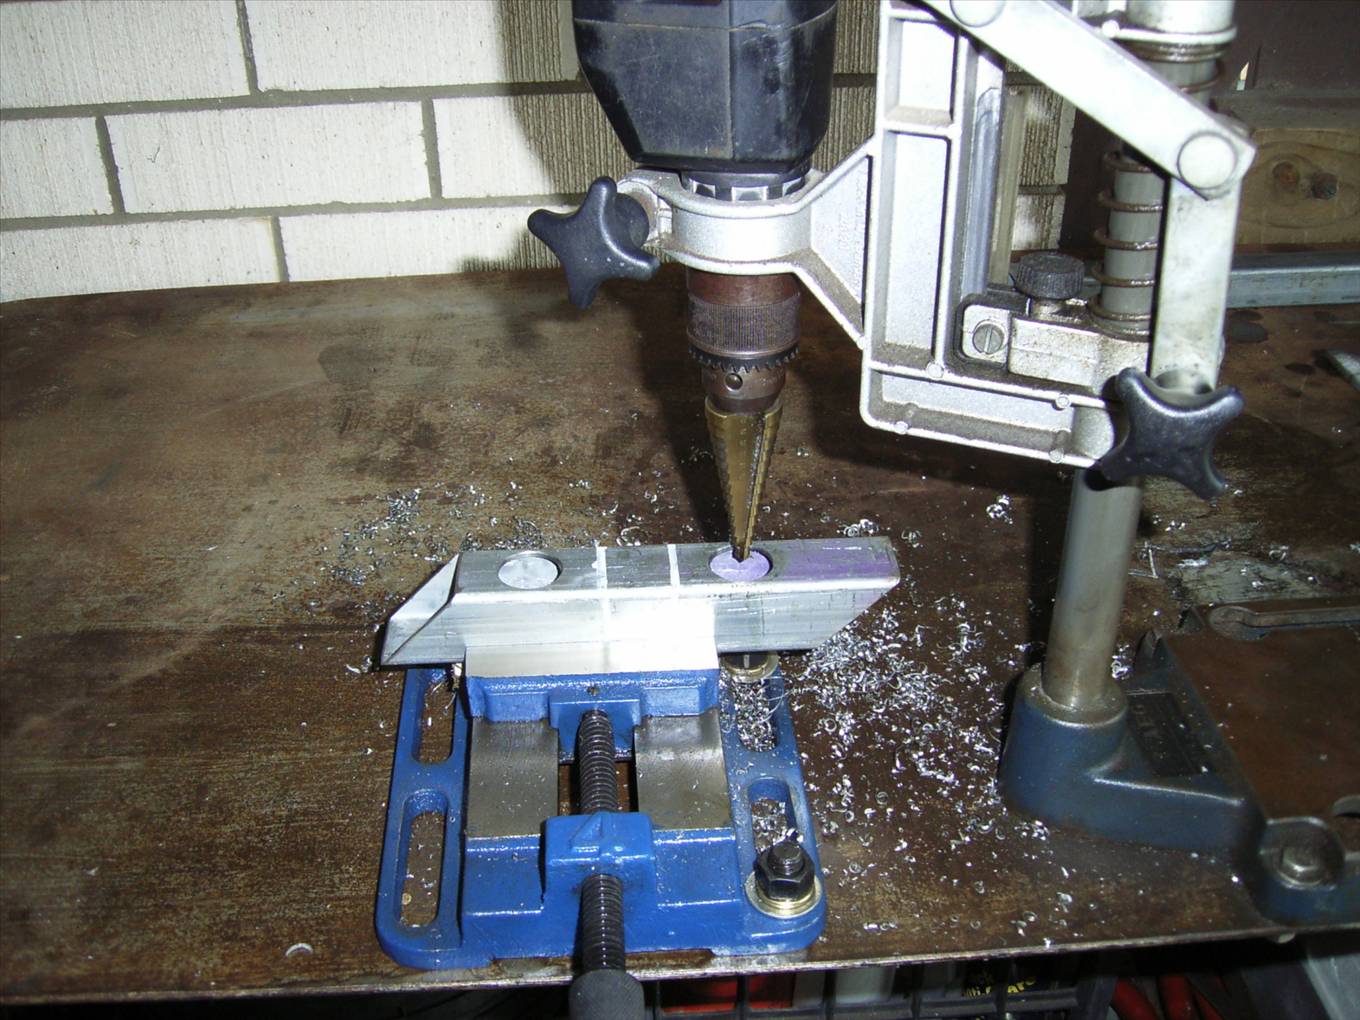
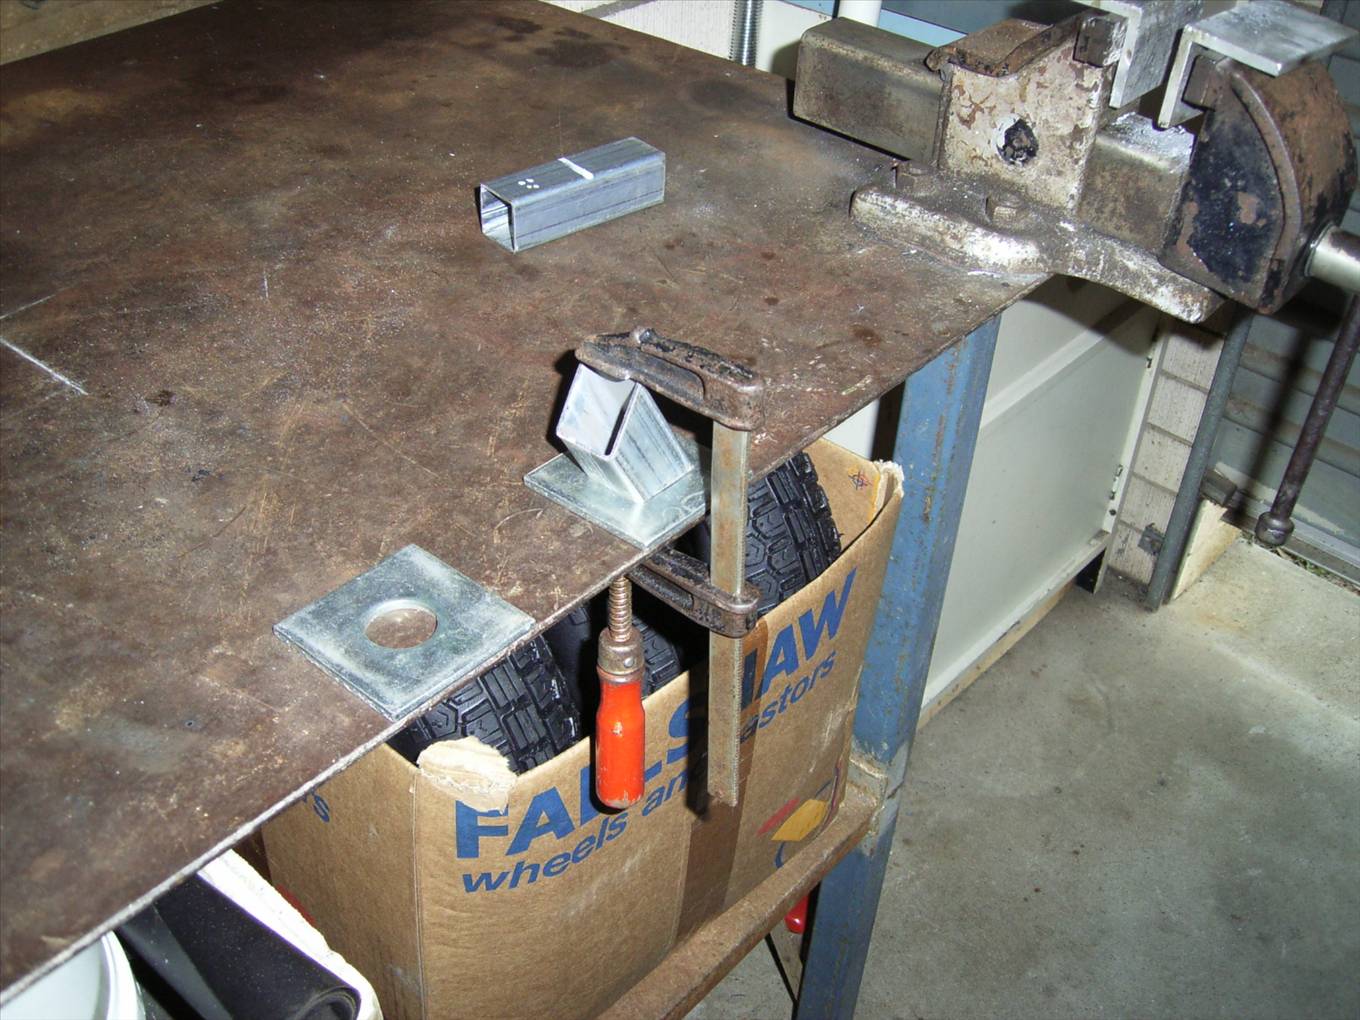
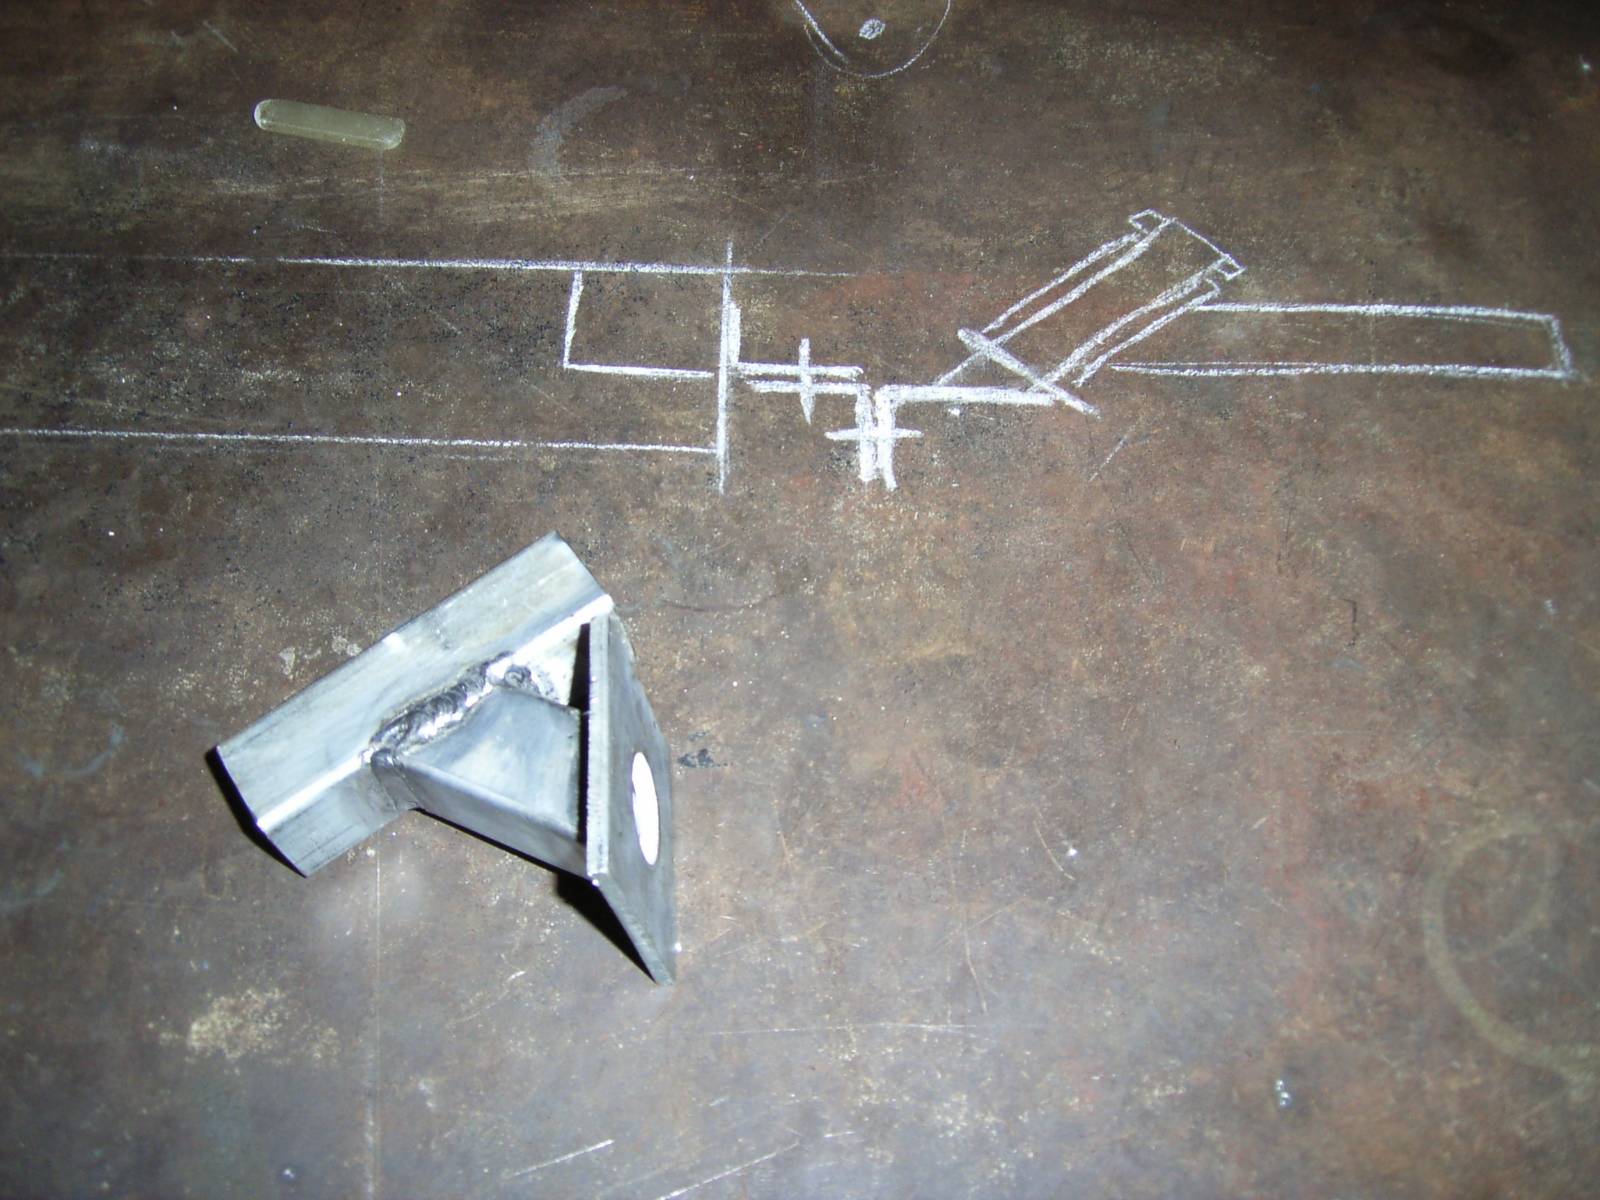
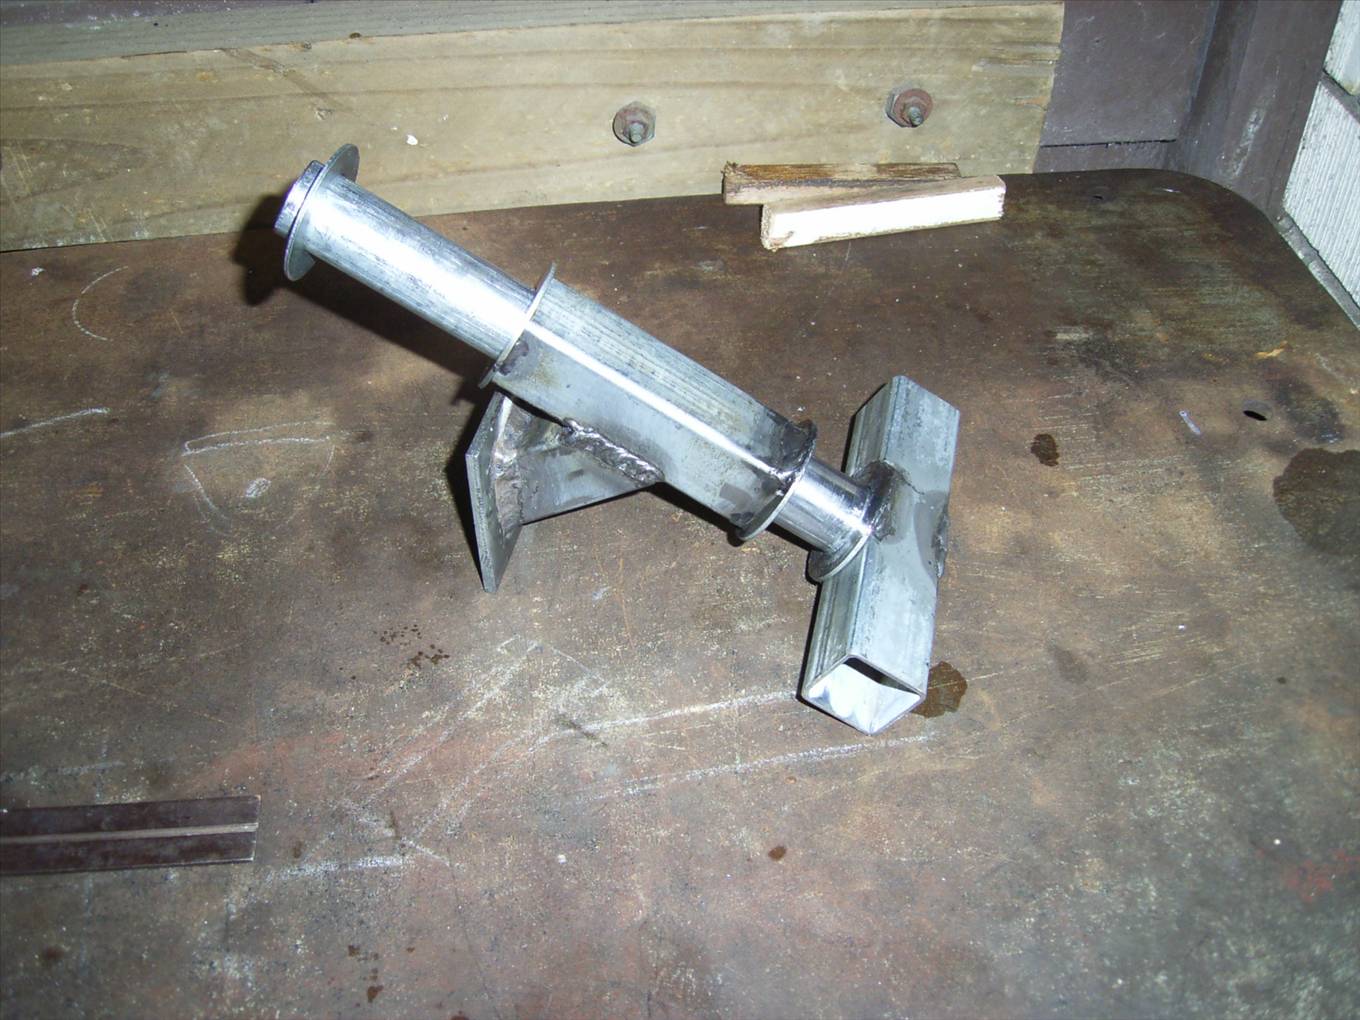
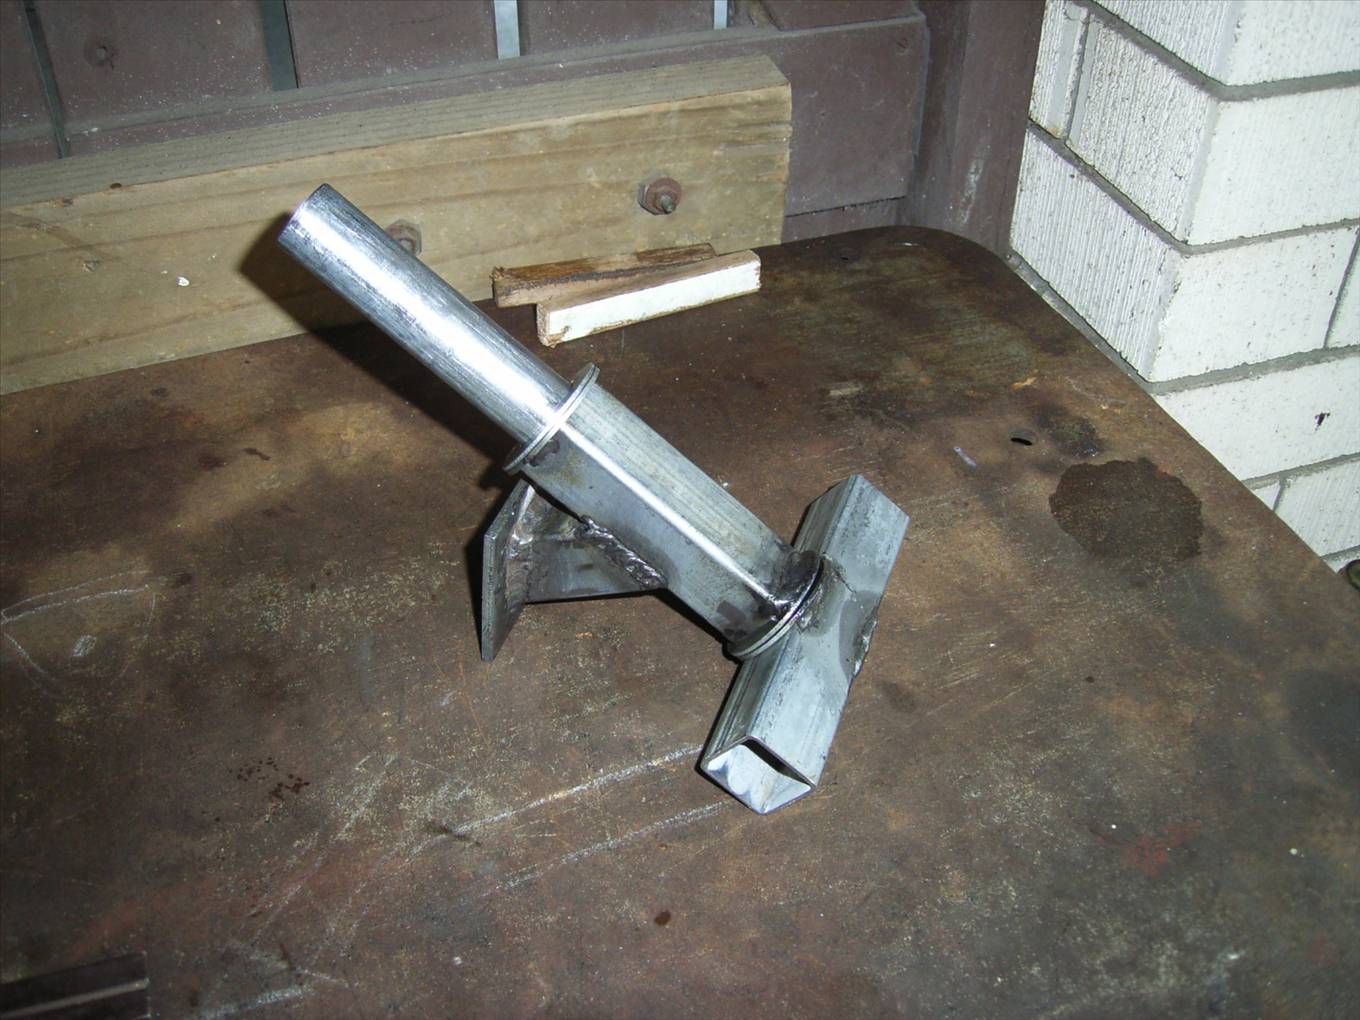
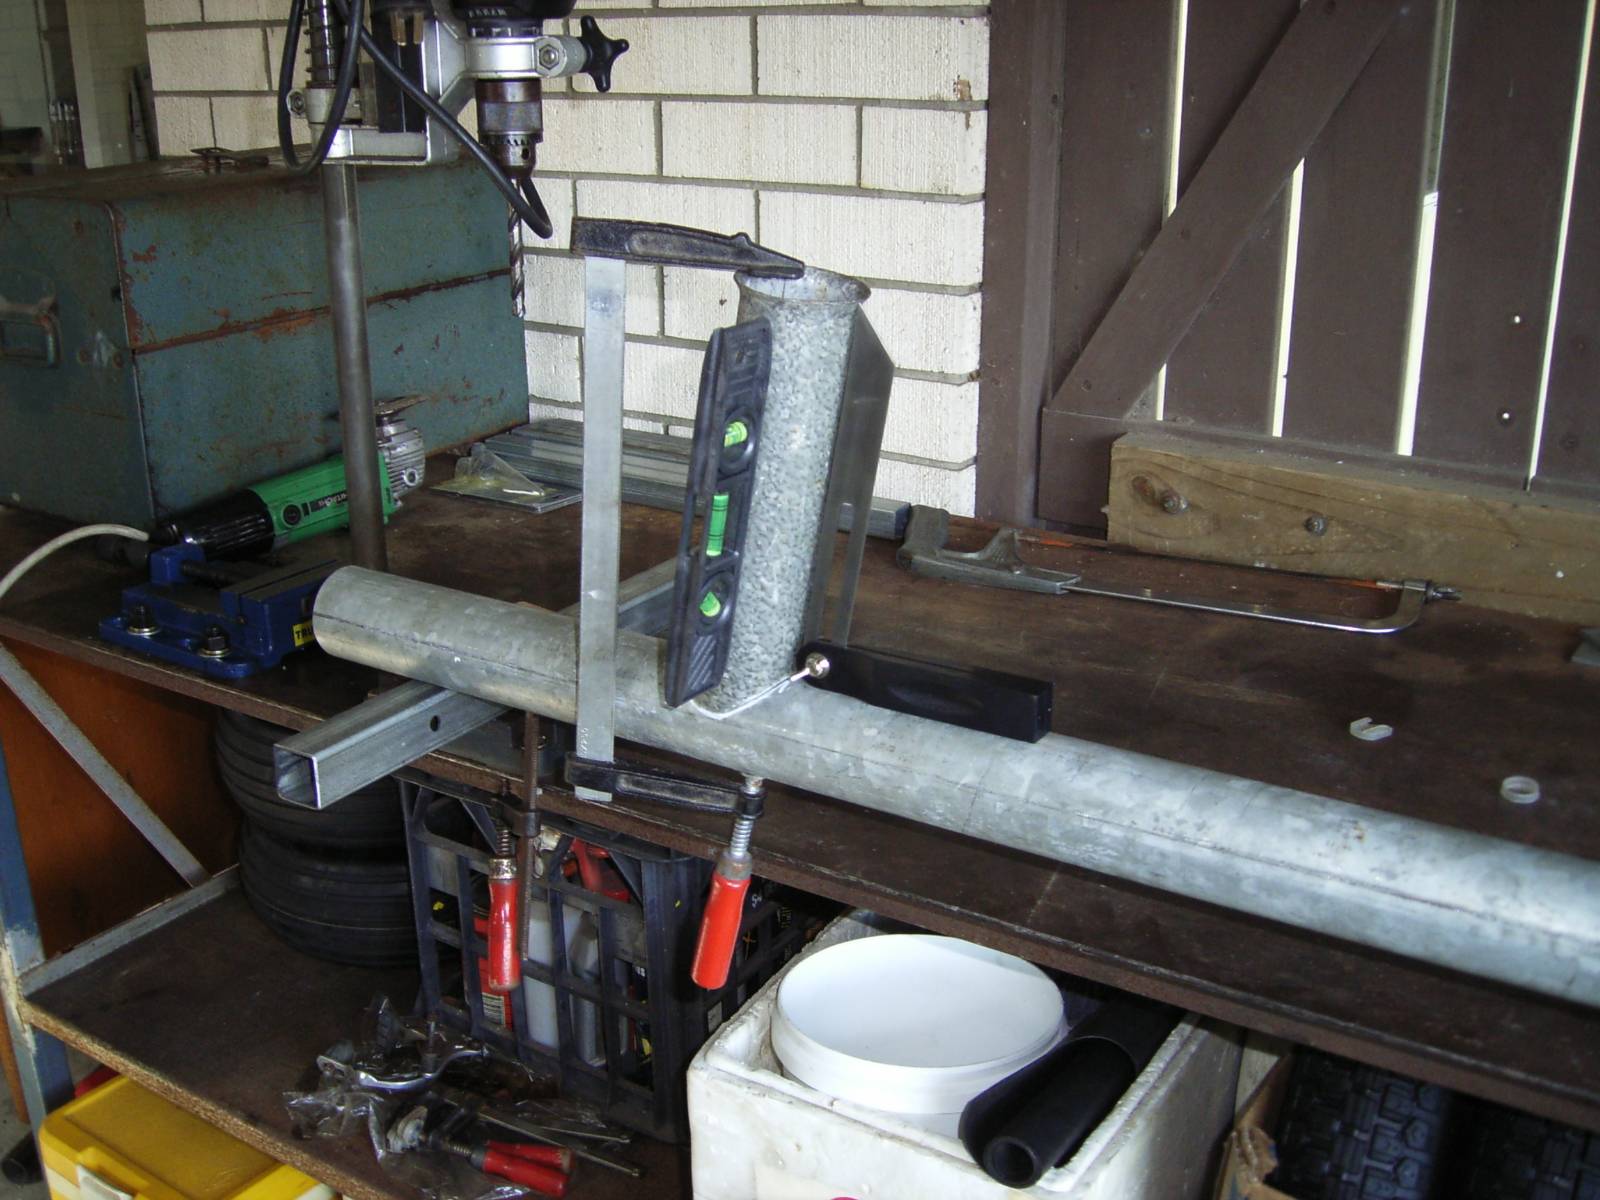
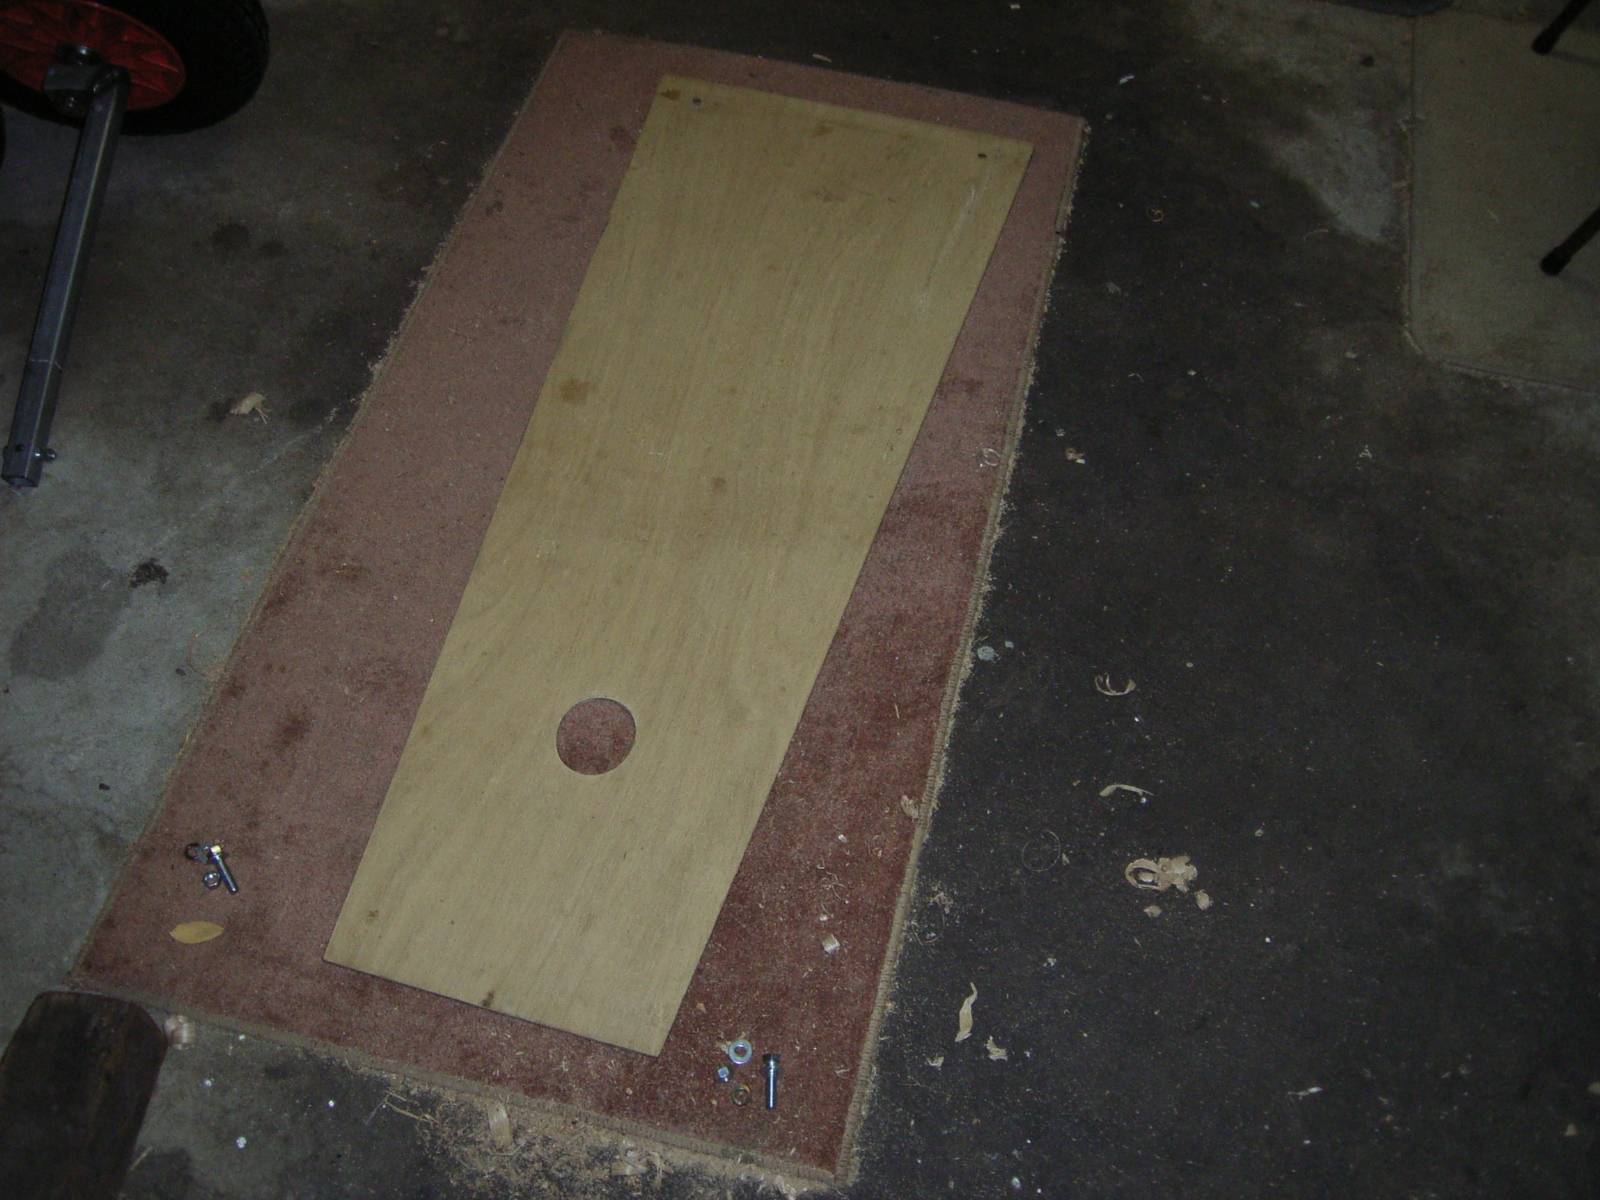
Mast step strut drilled to take downhaul block in top hole and the other holes could be used to attach GPS brackets, camera brackets or even a stubby holder.

Cold Gal.
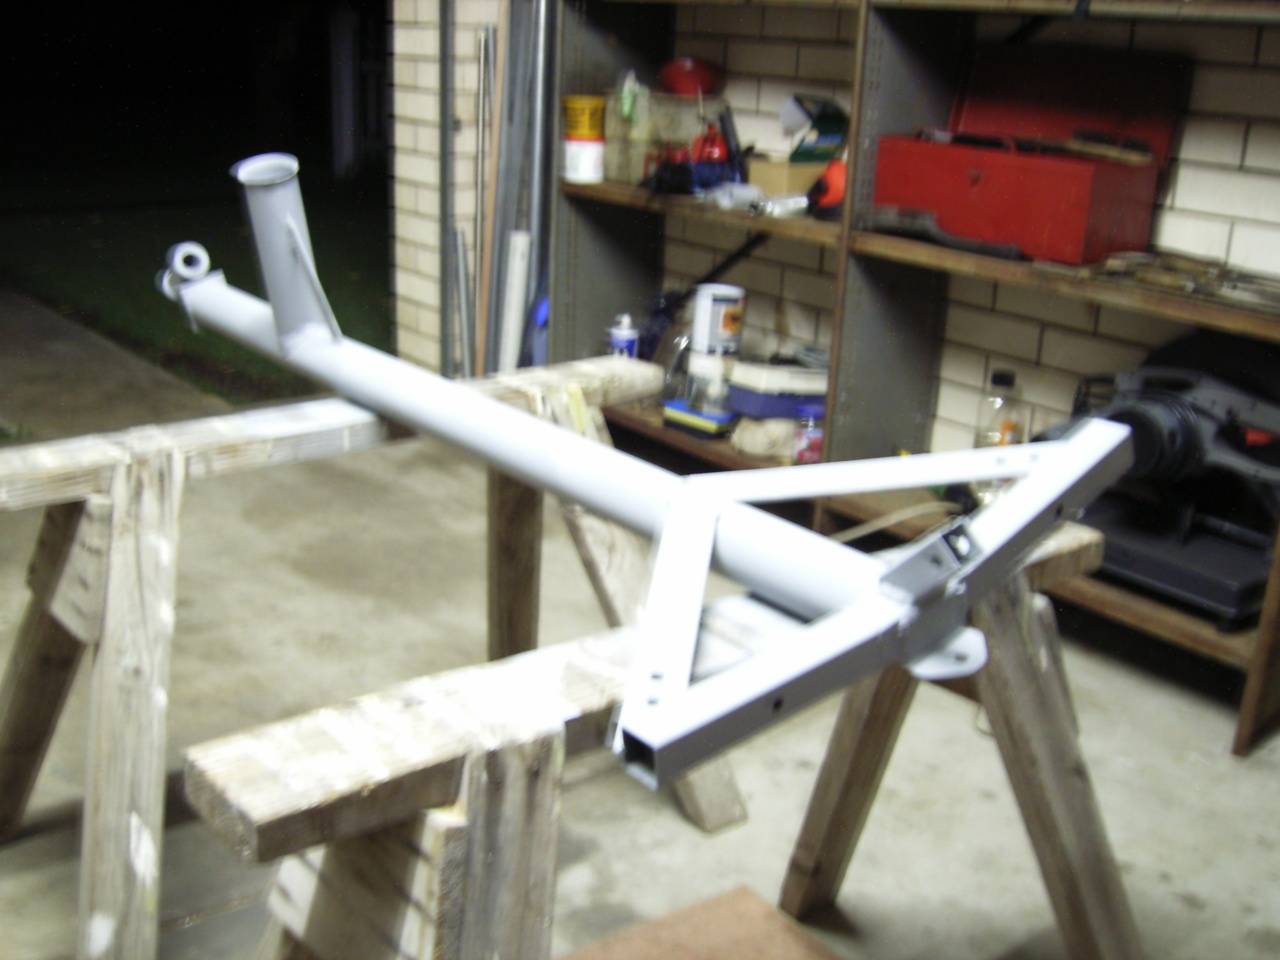
Top Coat.
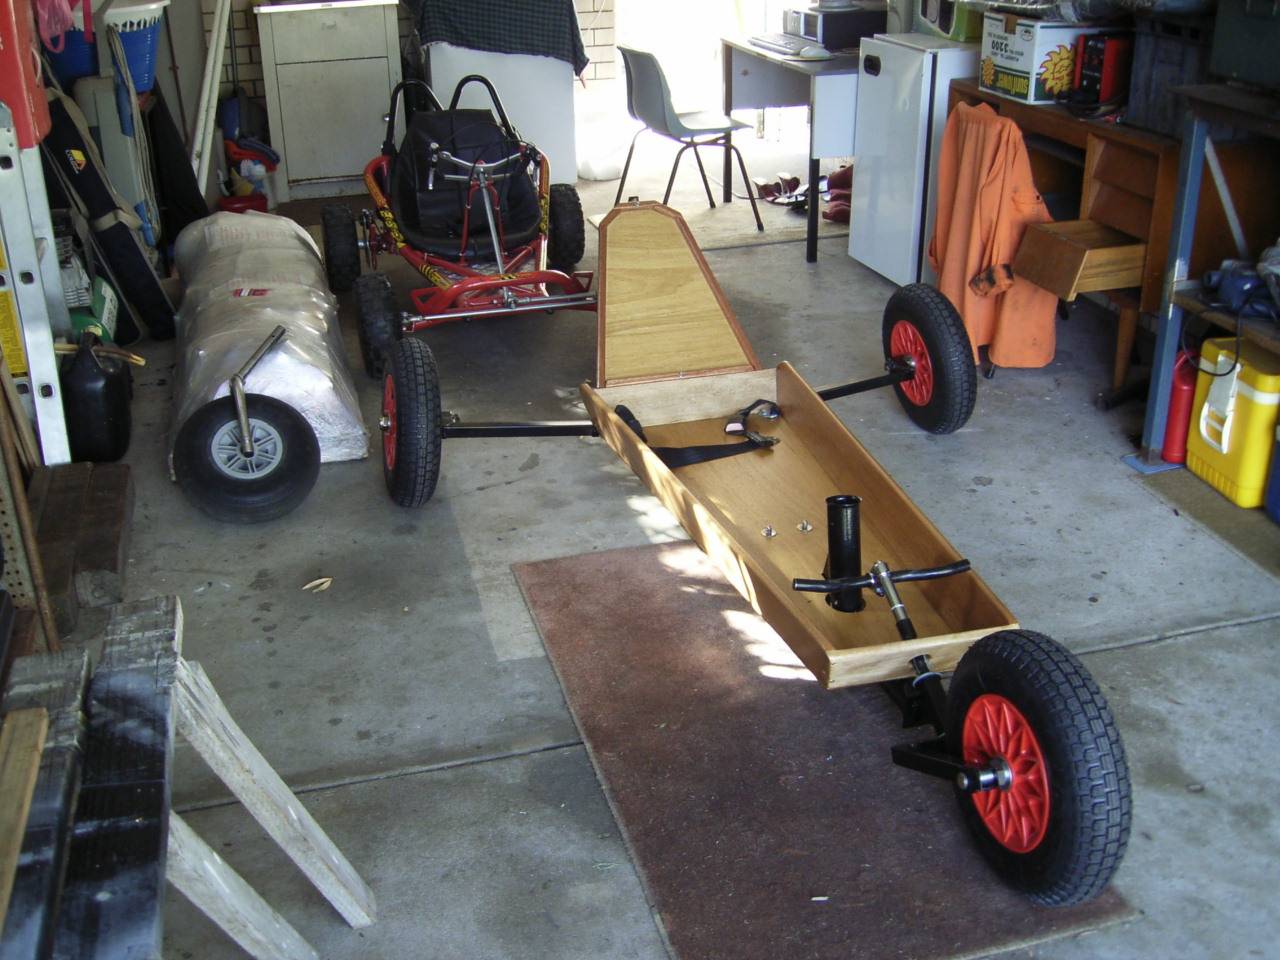
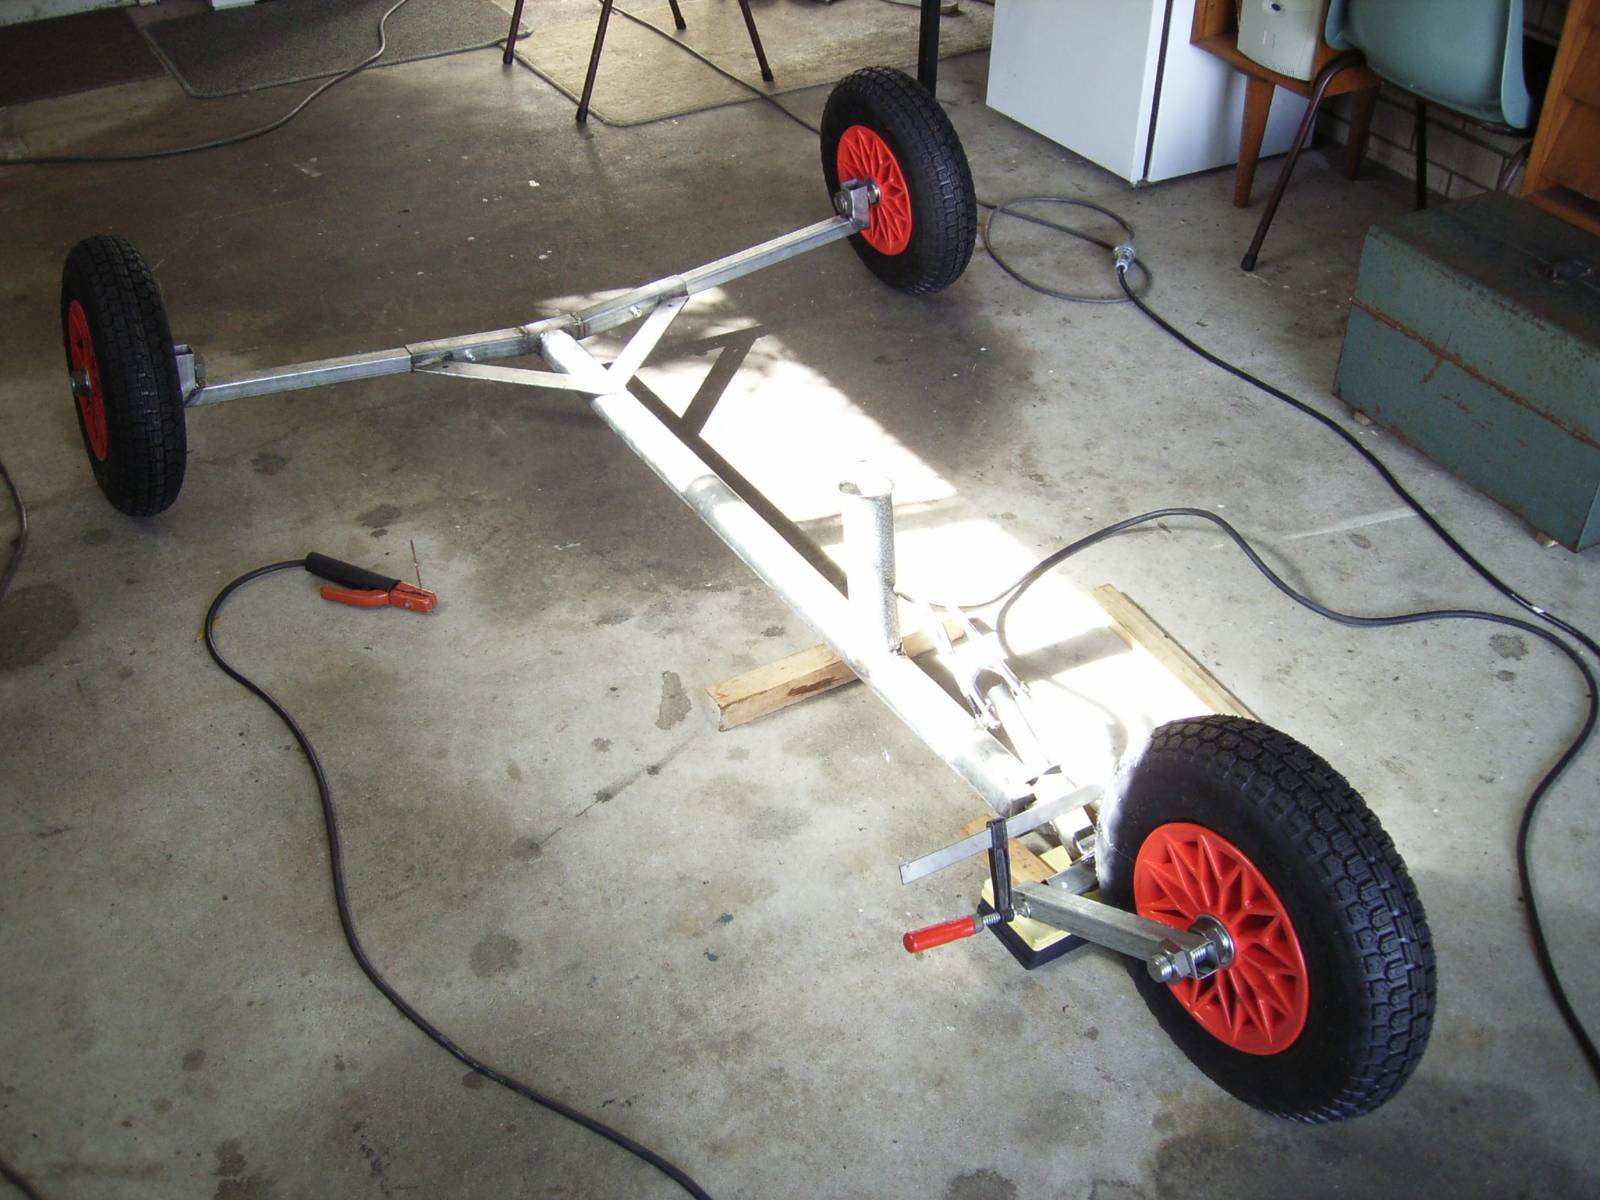
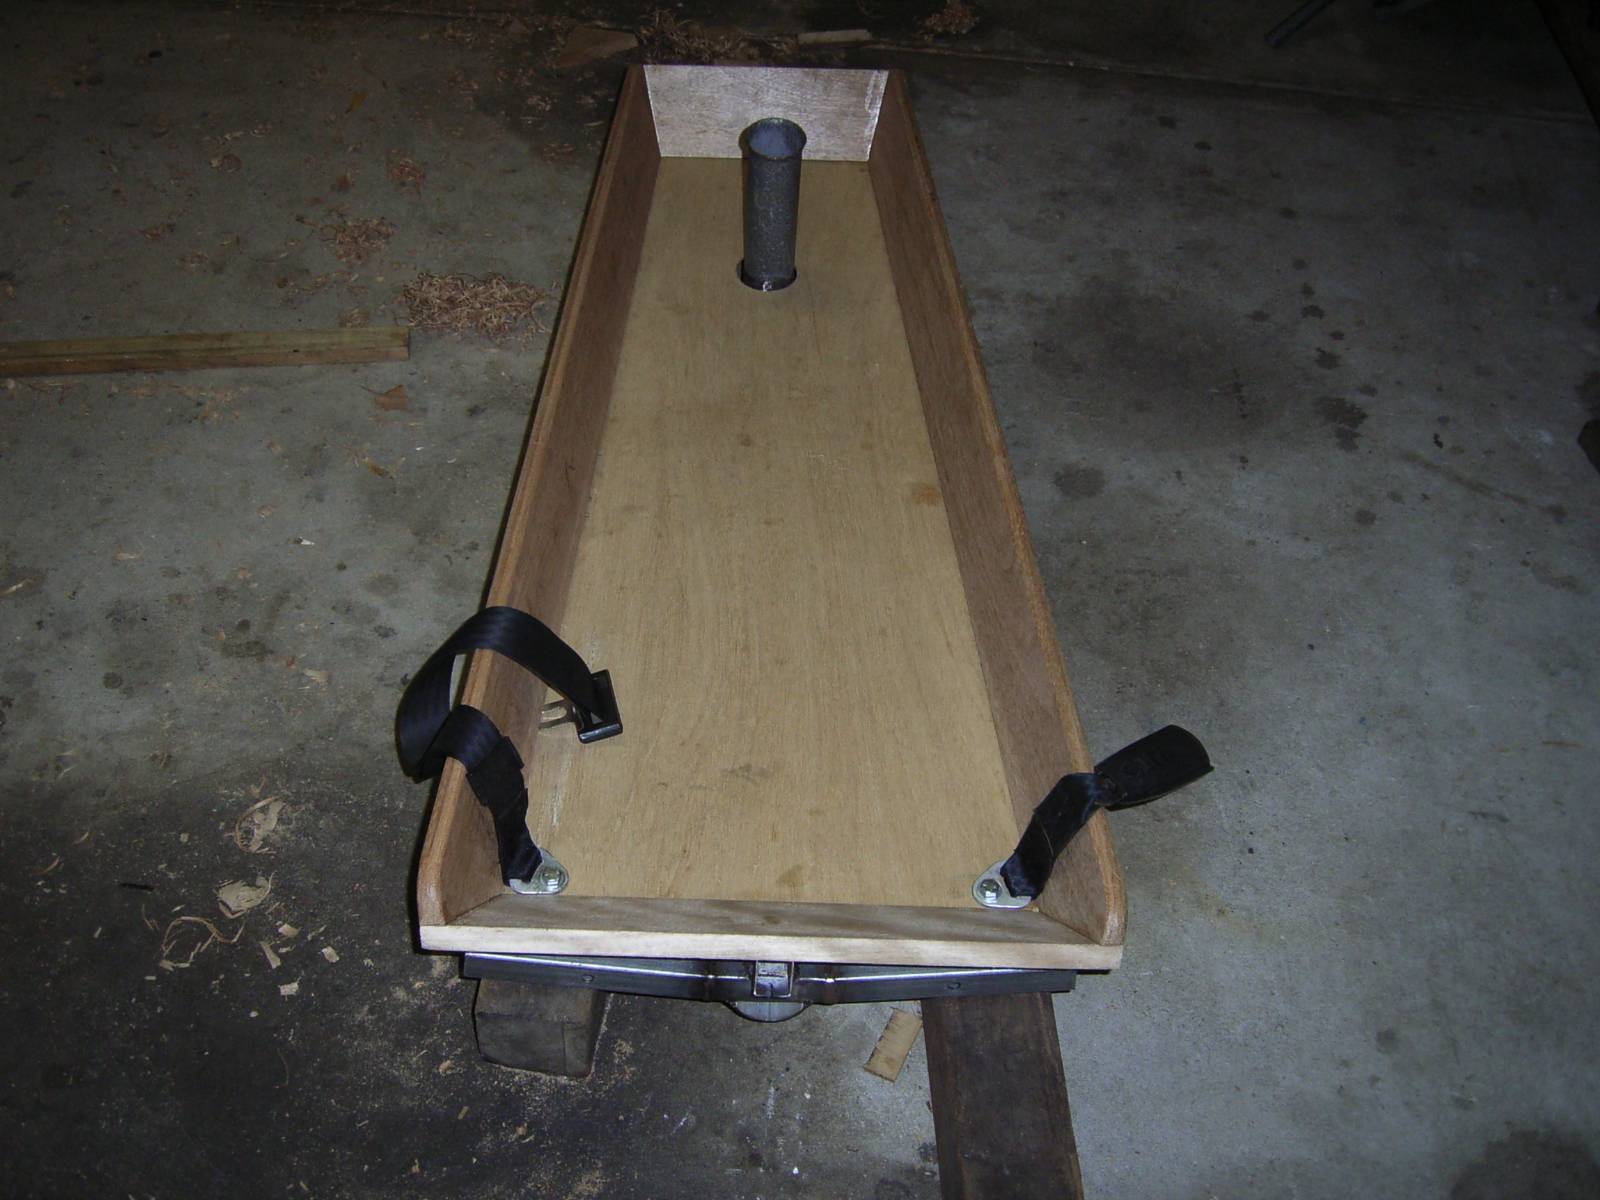
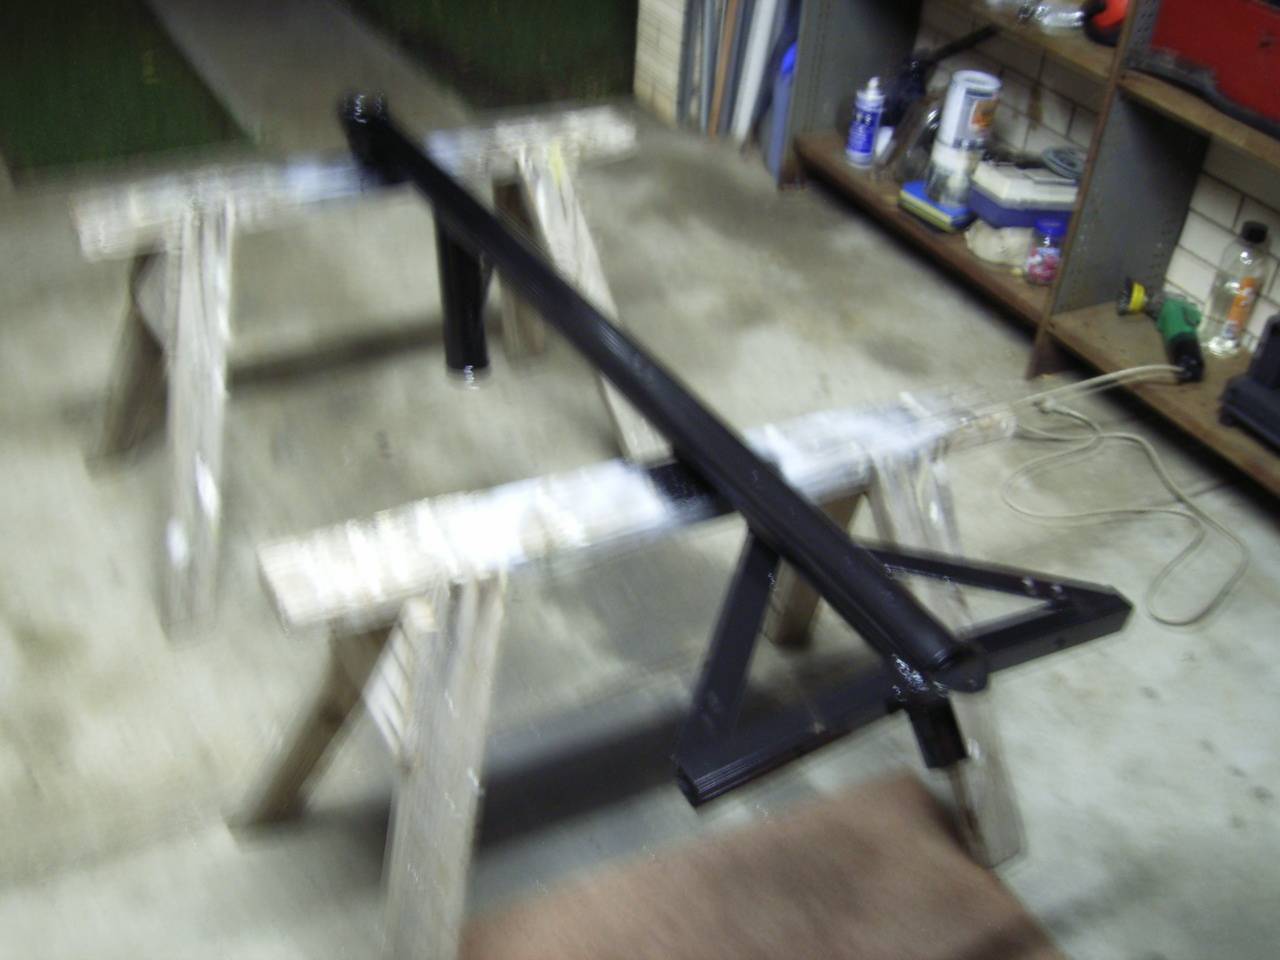
Seat is U bolted half way along and may get another in front of the mast.
Just add beach, boom, mast and sail.
There is more to come but it will be a little while coming.
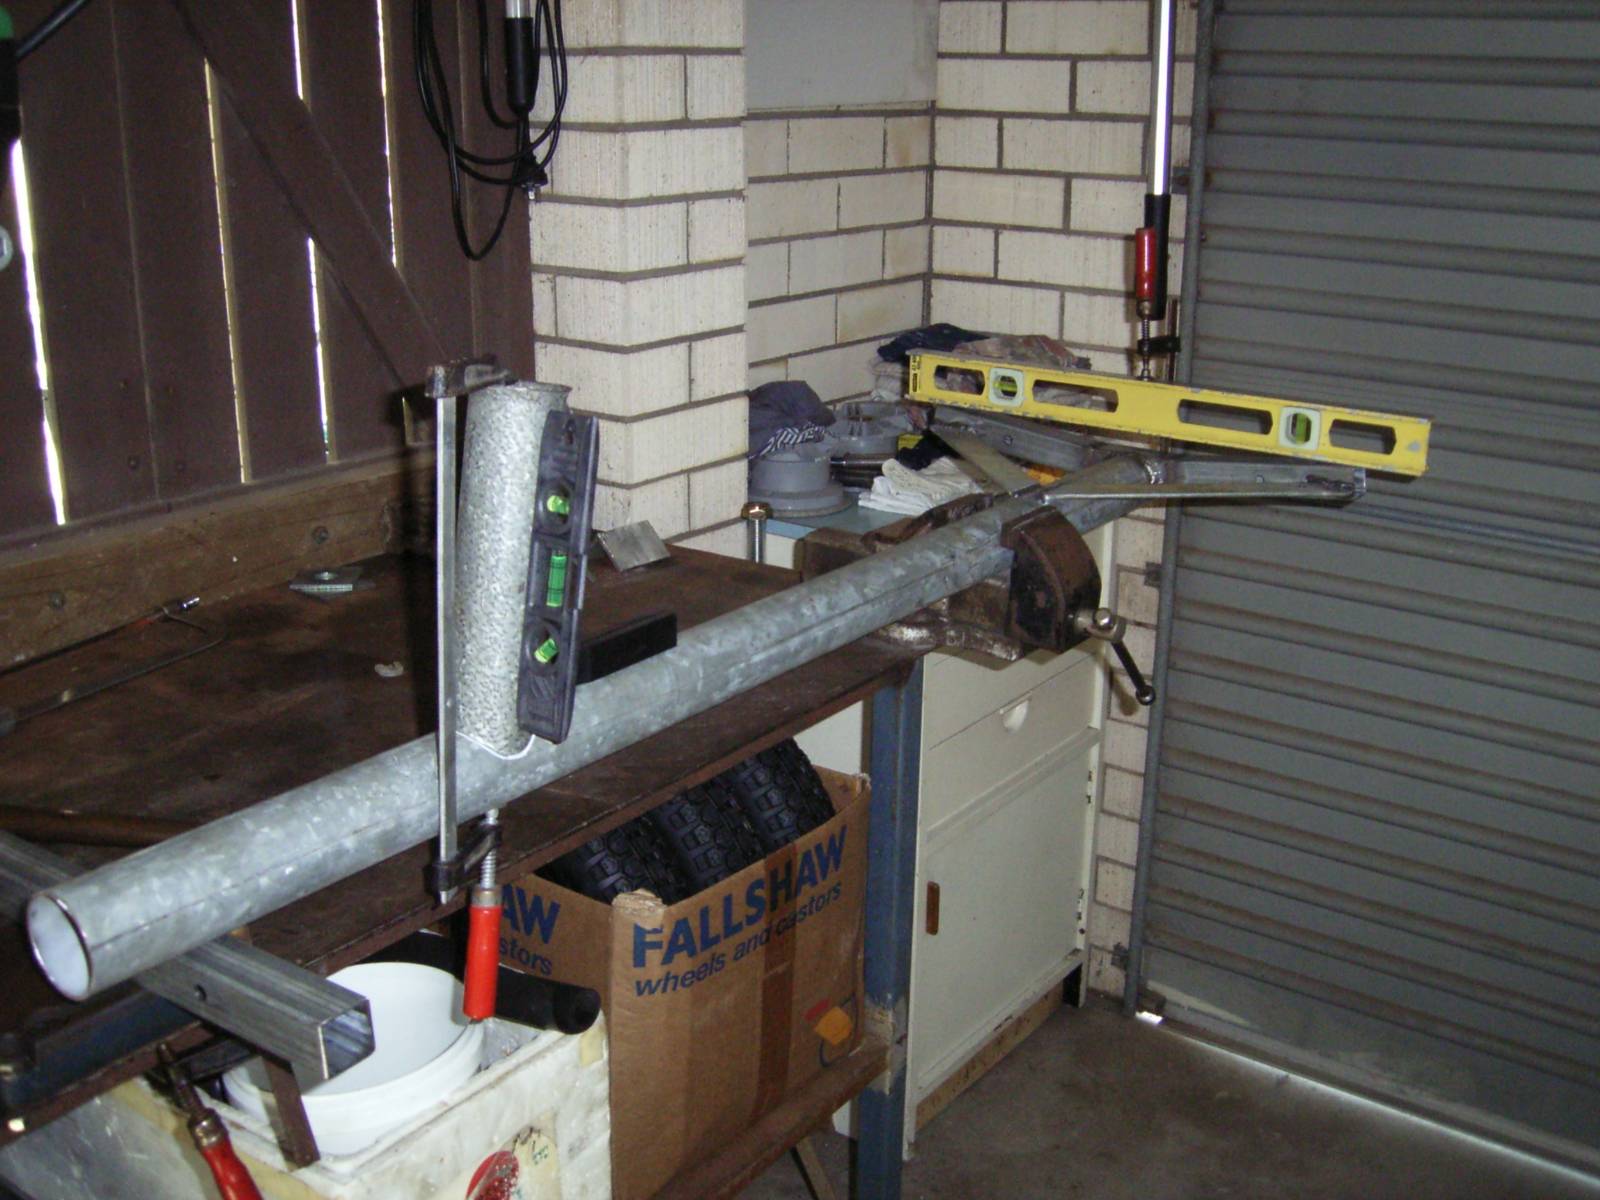
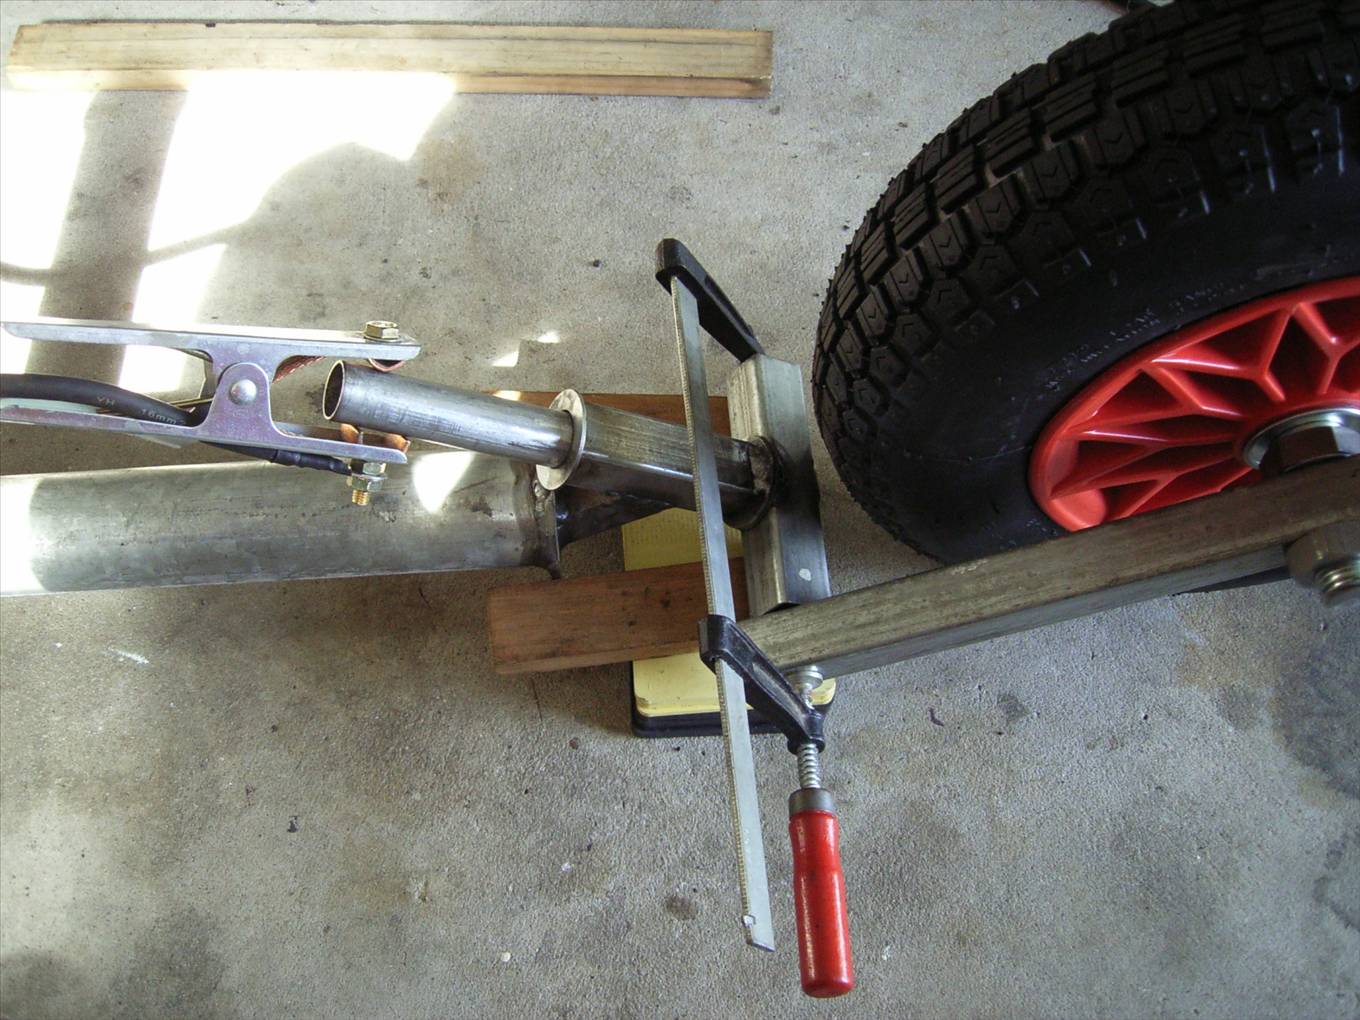
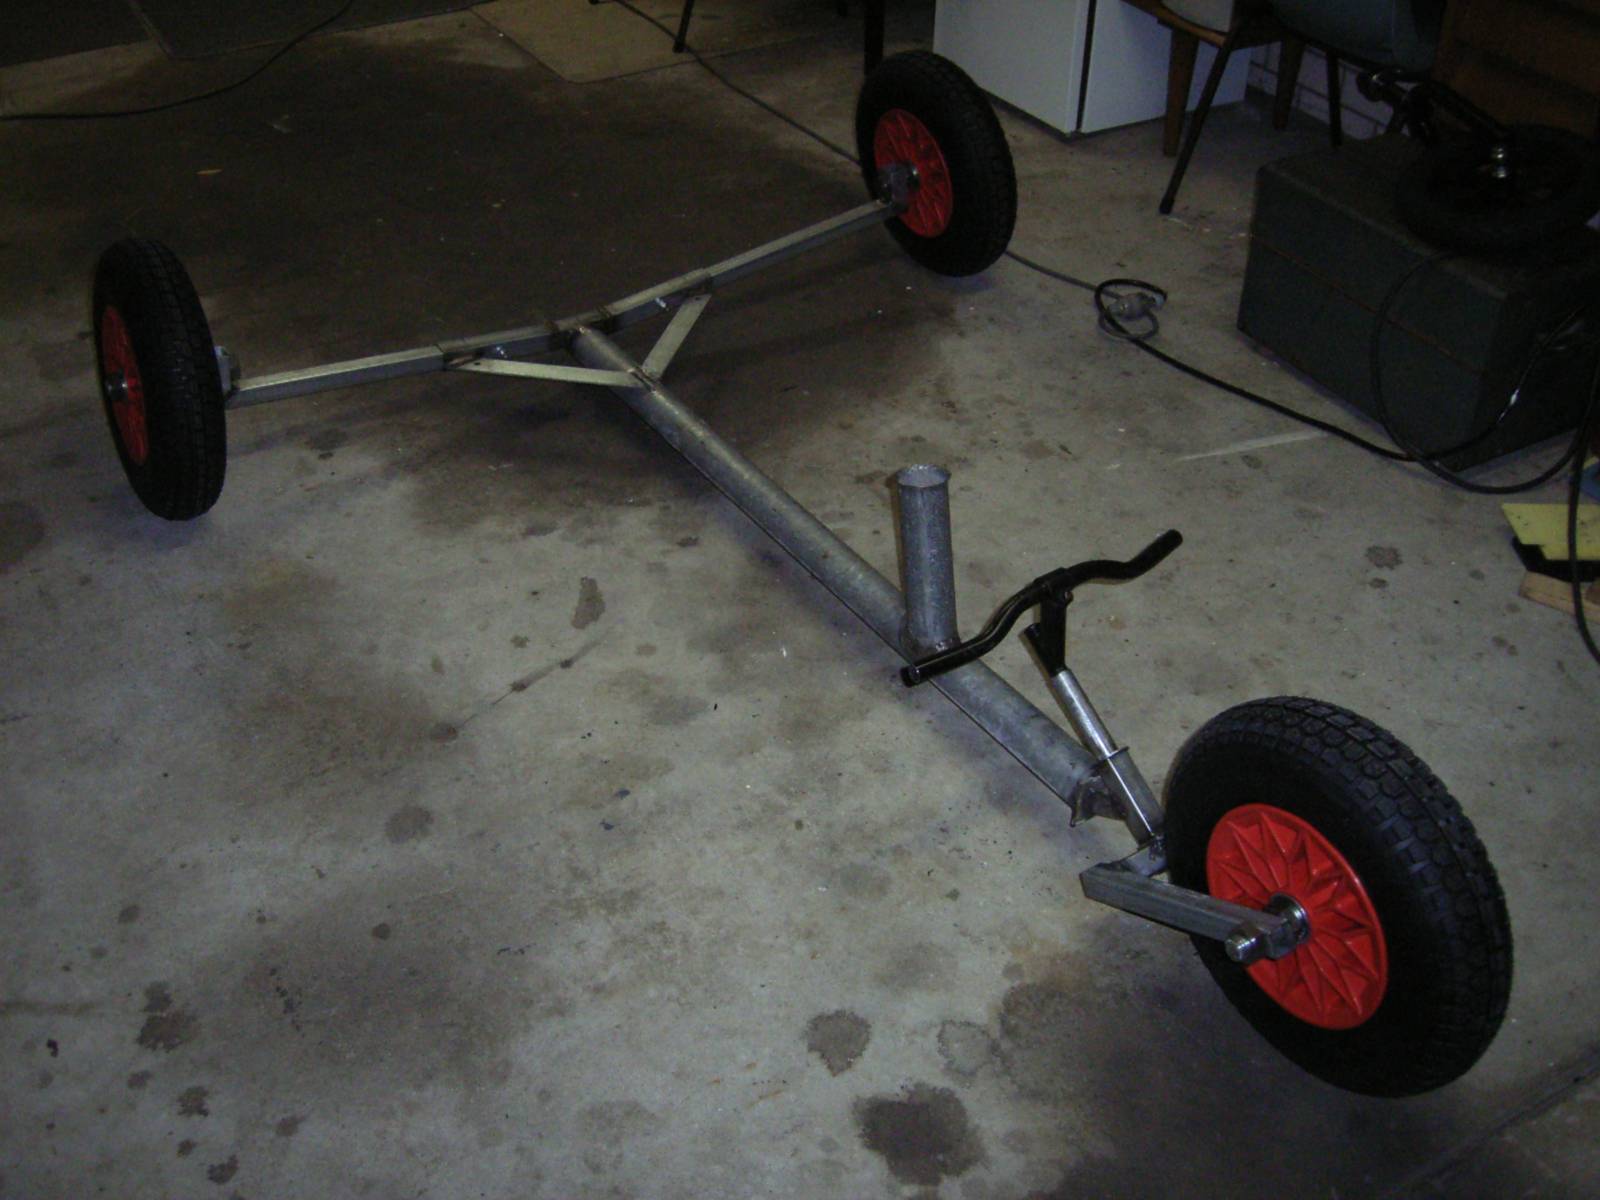
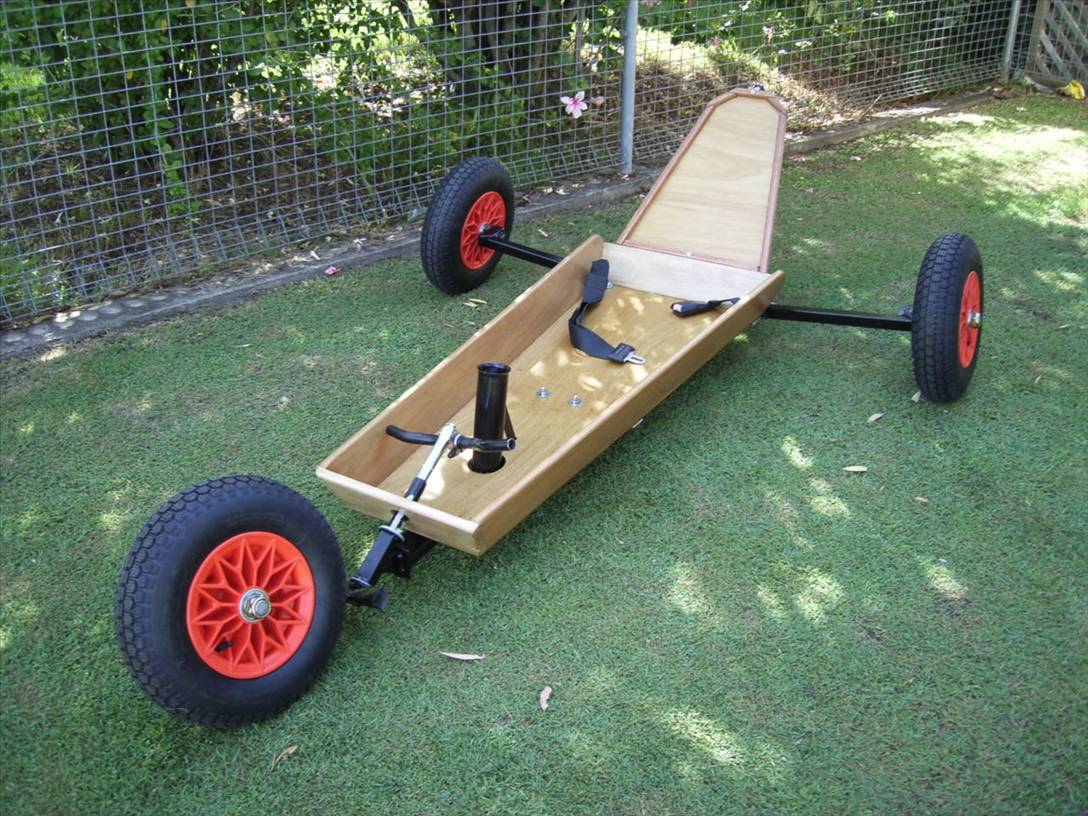
P.S. You may notice that in the last two photos the axles are set for 3 1/4" ground clearance. At Yeppoon it stayed at 1 1/2" ground clearance and never bottomed out.
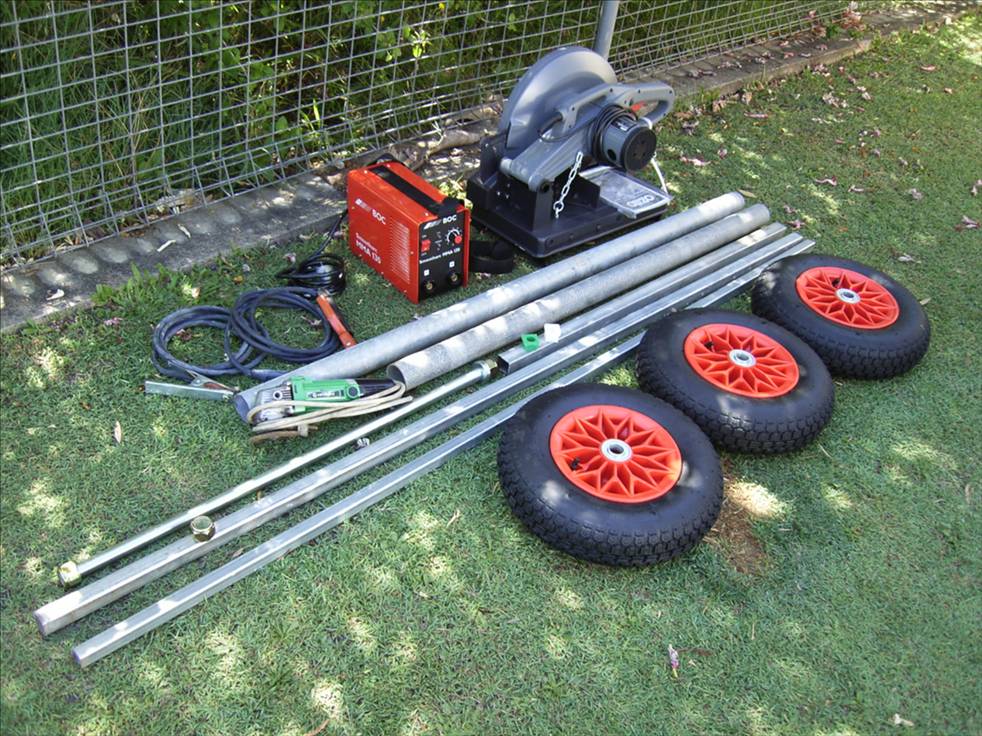
At Yeppoon after the first day of sailing with the supplied pressed metal trolley wheel bearings which nearly deafened me I fitted the precision sealed bearings ($85).
The cost without mast, sail and boom is probably just under $400. Paul says the aluminium mast cost is about $270, add $100 for blocks and rope and allow $600 for a sail from a sailmaker and you have a real hot yacht for less than $1300.
The beauty of it is that you can build it progressively as your budget allows with the biggest outlay being for the sail. However there are ways of minimising this cost.
Happy building and sailing all. Cheers Cisco