Get ready for it, your not going to believe it but Im
almost finished. Though by finished i mean it could be sailed, there is a fair bit of cosmetic work that
could (insert: should) be done.

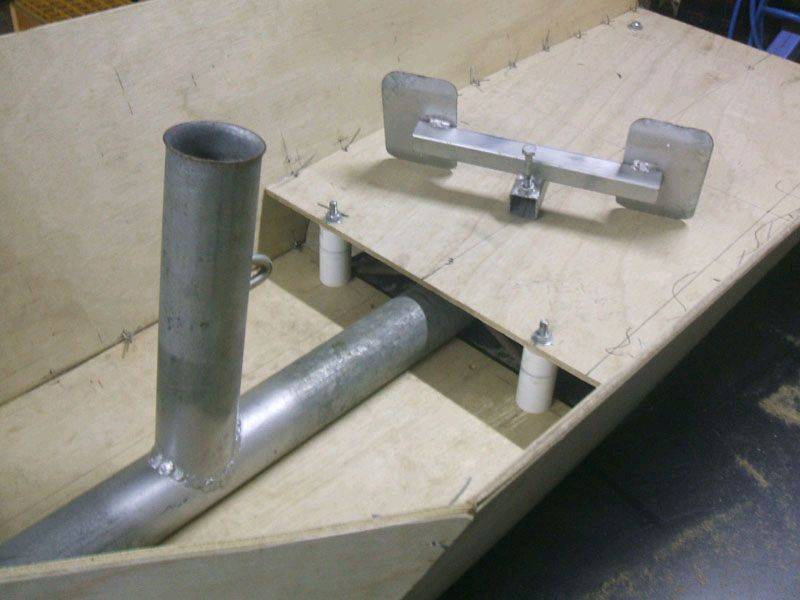
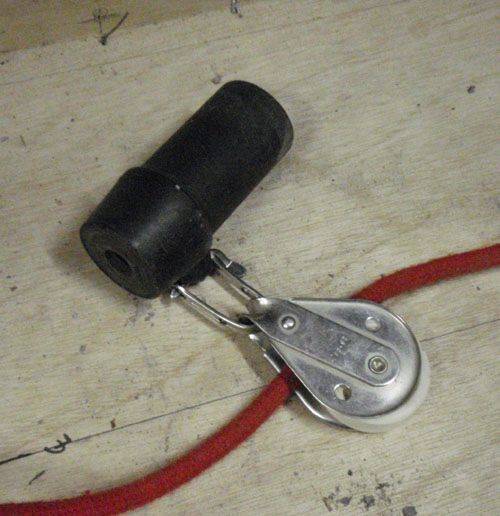
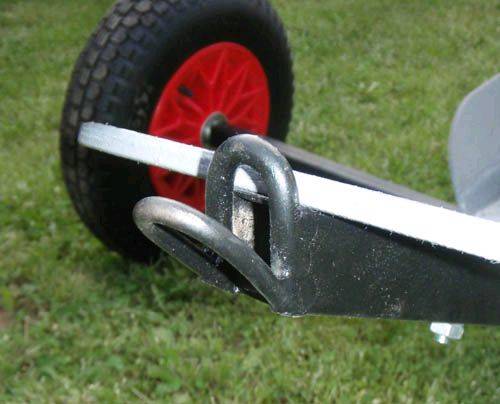
First image up is of the modified whip block mount. The additional second loop is to tie the mainsheet off, this will allow the boom to be pulled down a bit further, and I dont have to buy blocks with a becket (??) which is cheper

The how I did this is self explanatory so I wont describe the complex process of how I did it.
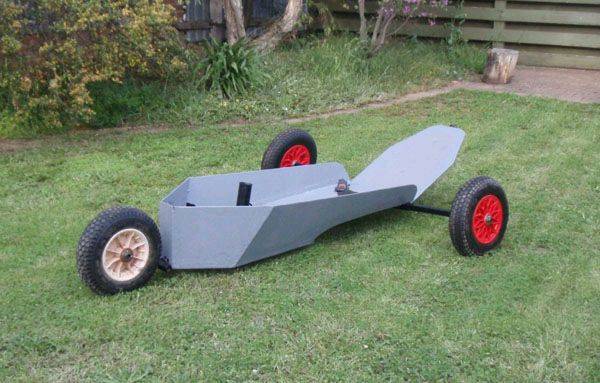
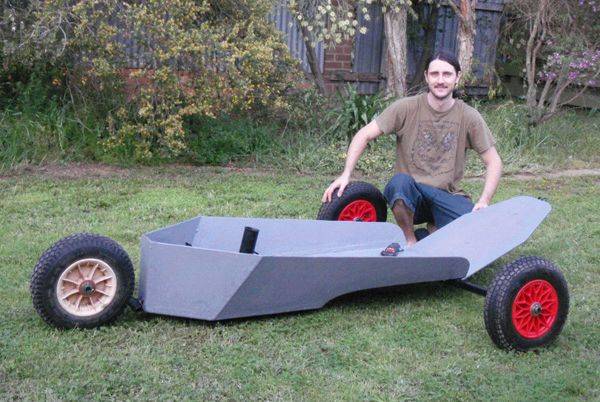
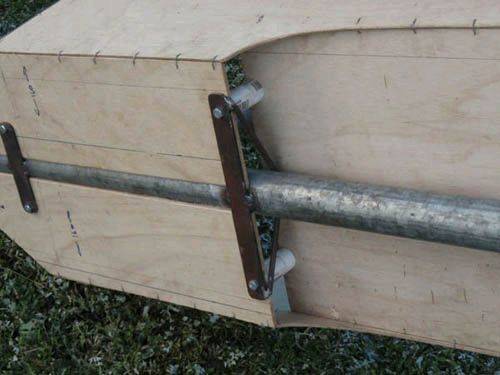
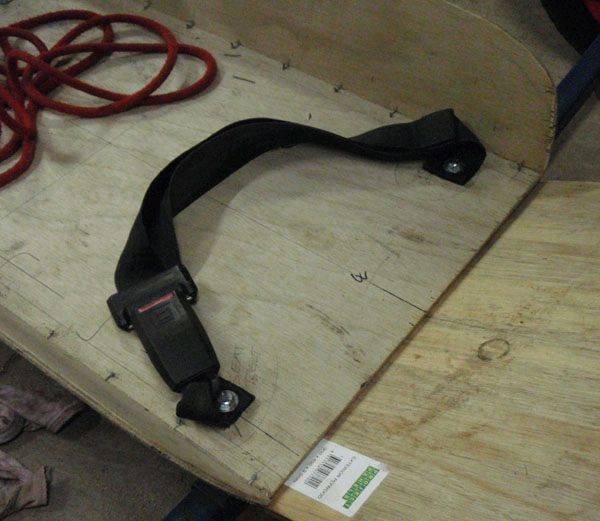
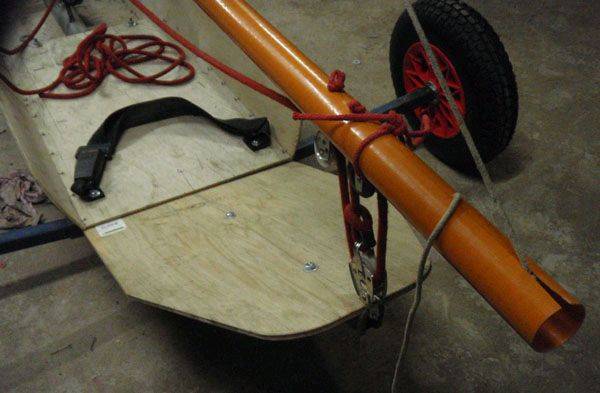
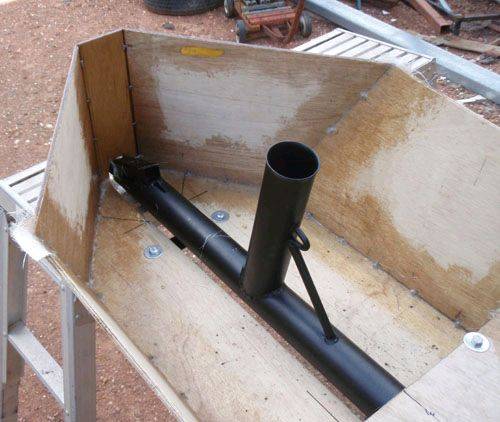
And a wheel and backrest. Wheels are held on with split pins. This photo also highlights quite a large mistake I made when making the seat, a couple of 1"x3/4"x2mm steel tabs on the axle sleeves fixed it up (please forgive the unit mix).
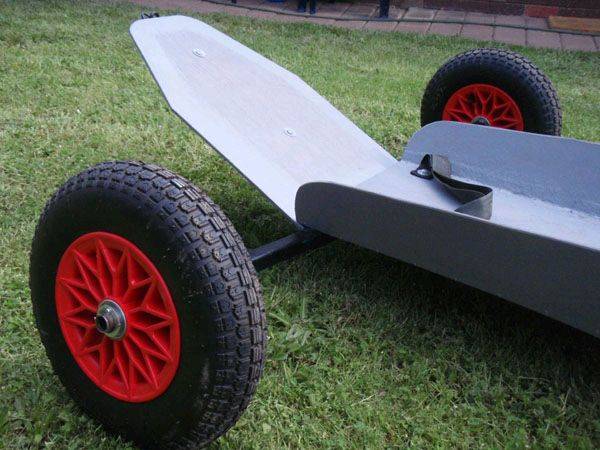
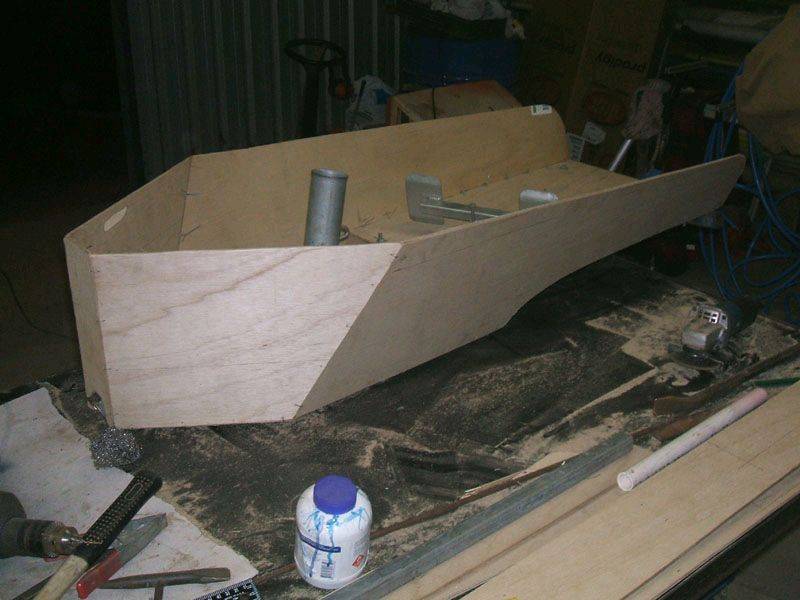
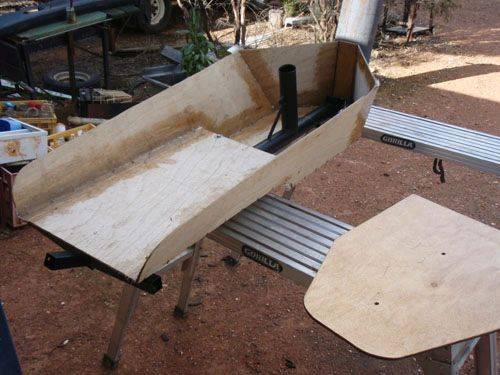
Actually, not one to make a single mistake heres a shot that shows another. Cutting a little too much wood off the lower front seat base changes the angle of the sides considerably. Too much angle for my liking, and the seat is 50mm wider than planned, but the up side is I could use 2 sleeping bags worth of padding and still fit into the seat

This also shows where the angle comes from that you can see between the nose and sides of the seat.
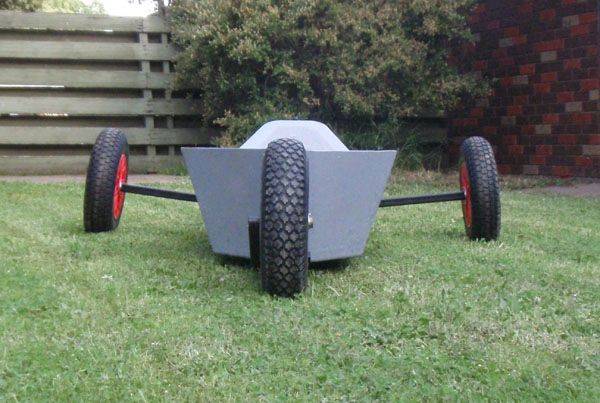
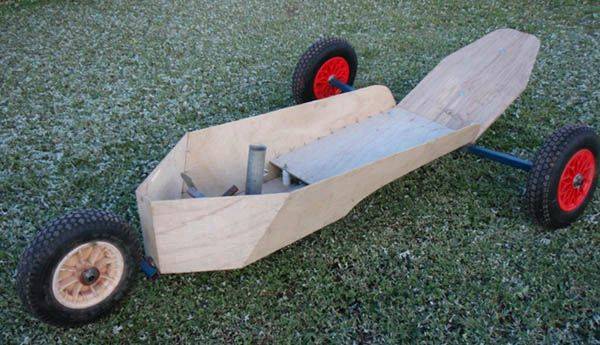
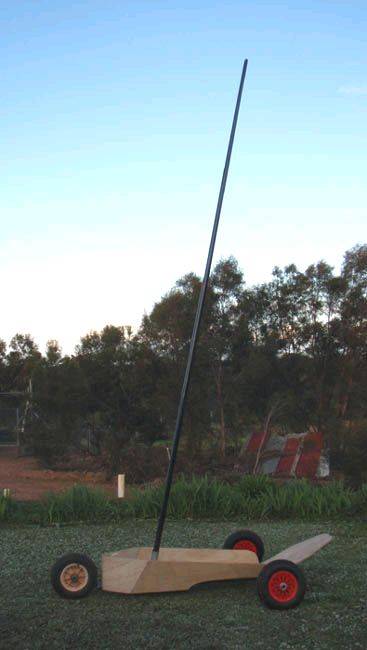
And lastly a coule of overview shots. The grey colour I just used as and undercoat but I dont think it would look too bad as a final colour. I want to see what the sail colours are first and match the seat to it (although if the sail is pink....), hopefully bring out a professional appearance to the mini explorer (and sharks teeth on the front will add to that....wont they
) Thanks everyone for following the build, more posts to come as I finish and test the machine

.