Body Dragging: Recover Your Board
Quick summary
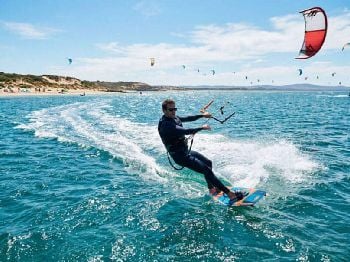
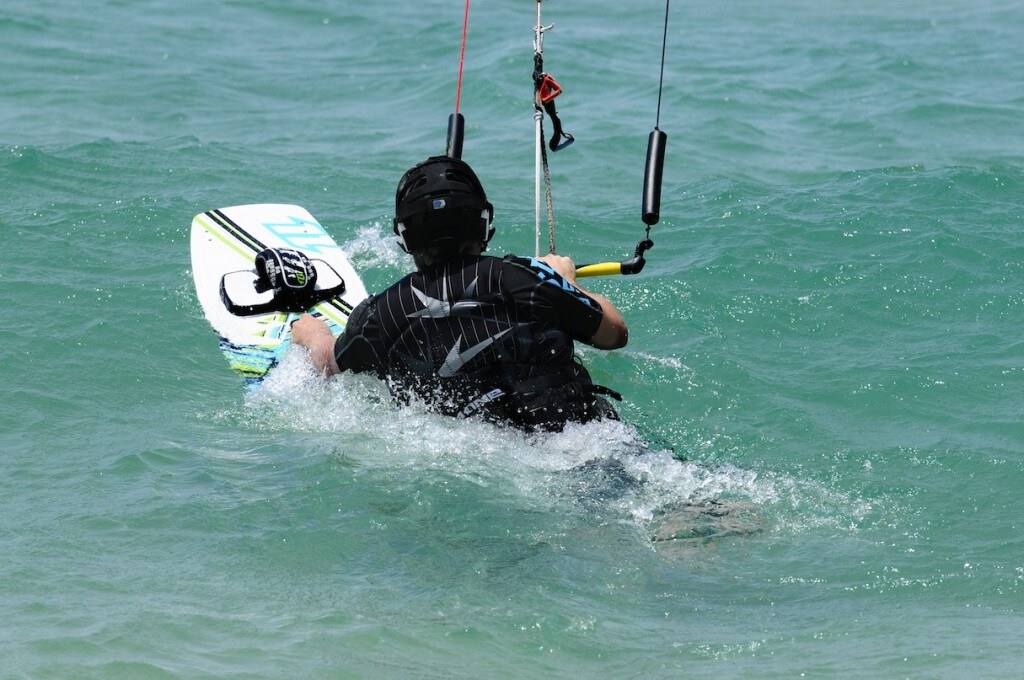
Body dragging is the technique that lets you move through the water using only your kite - no board needed. It is the single most important safety skill in kitesurfing.
Upwind body dragging, the hardest variation, is what lets you retrieve a board floating 50 to 100 metres downwind of you after a wipeout.
The how-to
After reading this, you will be able to drag in three directions - downwind, crosswind, and upwind - and recover your board using the one-arm keel method.
Picture the moment: you come off the board, kite pulls you 30 metres downwind, and your board is sitting on the surface between you and the shore.
You cannot swim against the kite.
Even in 10 knots, the drag from the kite will pull you away from any board you try to swim toward.
Body dragging is the technique that solves this - and it is the only way to move with intention through the water when you are off the board.
Why you need to own this skill before you ride
Every rider drops the board.
In the early stages it happens on almost every water start attempt.
The International Kiteboarding Organisation (IKO) builds body dragging progressively across its kiteboarder curriculum - from two-handed powered drag in Level 1 Discovery sessions through to full upwind drag and board recovery in Level 2 Intermediate certification.
According to IKO standards, a kiteboarder is not ready to ride independently until they can drag upwind, recover their board, and self-rescue - three distinct skills that all build from the same foundation.
Jamie Symons, an IKO-certified instructor and former Liquid Force Australian team rider based on the Gold Coast, describes it plainly: the ability to body drag upwind is what separates a self-sufficient rider from someone who will need rescuing the moment something goes wrong.
Phase 1 - Powered downwind drag
This is where every rider starts.
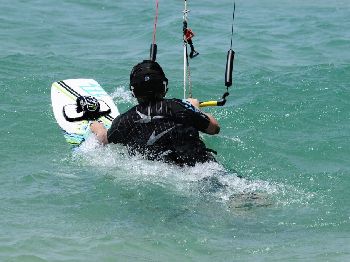
Sheet in, put the kite in the power zone between 1 o'clock and 11 o'clock, and let it pull you through the water on your belly.
Your goal in Phase 1 is to feel the kite's power without fighting it.
Keep your body flat on the surface, legs trailing behind, arms forward on the bar.
If the kite is too high at 12 o'clock, the lift pulls you up and out of the water - reducing drag but also reducing control.
If the kite sits too low, the pull drags your face through the surface.
Between 1 and 2 o'clock (or 10 and 11 on the left side), you feel a consistent horizontal pull - that is the sweet spot.
Phase 2 - Directional and crosswind drag
Once you can control the pull direction, move the kite toward 3 o'clock or 9 o'clock and drag directly across the wind window.
Crosswind drag teaches you how kite position translates to direction of travel - a skill you will use constantly on the board.
Practice steering the kite from 2 o'clock down to 3, feeling the pull shift from forward to sideways.
Your hips and legs follow the kite - twist your body so you are cutting slightly into the direction of pull rather than being pulled flat across the water.
Phase 3 - Upwind body drag (the keel method)
This is the technique that gets your board back.
Park the kite at 1 o'clock (right side) or 11 o'clock (left side) - not directly overhead, and not below 2 o'clock where the power dies.
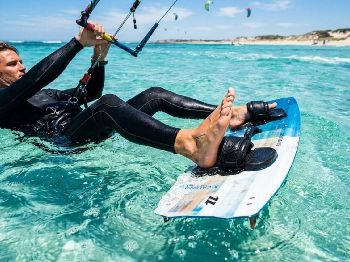
Roll onto your side.
Your lead arm - the arm closest to your direction of travel - extends forward and down into the water at roughly 45 degrees, hand cupped or fingers closed.
This arm acts as your keel: it bites into the water and gives your body a pivot point to angle upwind against the kite's pull.
Your body angle should point about 15 to 20 degrees upwind of where the kite is pulling.
If you get this right, you will make upwind progress with every pull of the kite.
If you feel yourself going sideways or downwind, your keel arm is too high or your angle is too flat.
"The arm in the water is doing the real work - most beginners leave it too shallow and wonder why they keep going downwind," says Jamie Symons, IKO-certified instructor and former Australian team rider at Skyhigh Kitesurfing.
Deepen the arm, increase your body angle, and the physics will take over.
Phase 4 - Board recovery
Your board is floating 40 metres upwind.
Here is the critical mistake most kiters make: they aim directly at the board.
Because of drift and the time it takes to close the gap, aiming at the board almost always deposits you just downwind of it.
Aim 3 to 5 metres upwind of the board instead.
When the board is further away - 60 metres or more - use short tacks of around 7 to 8 metres each side, swinging the kite from 1 o'clock to 11 o'clock as you zig-zag upwind toward the board.
Once you are within 5 metres, stop tacking and make your final run on the correct side.
To pick up the board: keep it in your downwind hand as you reach it, do not hold the board in front of you.
The kite continues flying on the bar hand while your free hand grabs the board handle or rail.
Hold the board flat against your body with the fin tucked away from your skin.
Common failure modes and fixes
Going straight downwind: kite is too close to 12 o'clock, your body angle is too flat, or your keel arm is too shallow.
Getting lifted out of the water: kite is too high and pulling up rather than forward - park it lower at 1:30 to 2 o'clock.
Losing ground sideways despite good body position: check that you are angling your body 15 to 20 degrees further upwind than where the kite is parked.
Not being able to reach the board after three tacks: you are losing ground faster than you are making it upwind - your keel arm is the likely culprit.
Board slipping away as you grab it: you approached too fast and overshot - aim slightly more upwind next time.
When to stop dragging and self-rescue
Body dragging has limits.
If you are more than 150 metres from your board and losing ground, or if conditions are rising and you are tiring, do not keep dragging.
Self-rescue - depowering the kite, wrapping it into a rough para-anchor shape using the lines, and body-swimming it to shore - is always the right call when the board is genuinely out of reach.
Kitesurfing Australia and IKO-affiliated schools include self-rescue as a mandatory skill alongside body dragging precisely because knowing when to stop is as important as the drag technique itself.
Practice drills to build the skill
Spend your first 20 minutes of any new session in waist-deep water dragging crosswind and upwind before you ever pick up the board.
Set a fixed reference point - a pylon, a buoy - and practice reaching it upwind from 30 metres away.
Deliberately drop your board in controlled conditions and practice recovering it without help until the sequence is automatic.
Check current wind and tidal conditions before heading out on the Brisbane wind forecast or your nearest Seabreeze location.
Questions kiters ask about body dragging
What size kite should I use to practice body dragging? Use the kite size appropriate for the wind on the day - the drag technique works across all kite sizes, though larger kites make Phase 1 and 2 easier and Phase 3 harder due to more pull.
Can I body drag with a directional surfboard? Yes, but tuck the board under your arm with the fins facing outward and trailing behind you - a directional creates more drag and slows upwind progress.
How do I body drag in stronger conditions? In 20-plus knots, the kite generates more power than you need for upwind drag - park it higher (closer to 1 o'clock) and let the keel arm do more of the directional work.
Is body dragging harder on foil equipment? Yes - foil boards are lighter, drift further and faster, and harder to hold against your body while dragging. Practice board recovery with a twin-tip first.


How to start Kiteboarding
All the information you need to get started in Kite surfing - Lessons, Associations and getting plugged into the community...