The Bottom Turn: Set the Line on the Open Face

Quick summary
The bottom turn is the first rail set after the drop, and it decides whether you climb into a high line or bog down in the foam.
Most failed bottom turns start too early, with weight still on the tail from the take-off, so the inside rail never gets a chance to bite.
The how-to
After reading this you can level the board, set your inside rail, and draw one long arc that projects you up onto the open face.
Set the scene before you set the rail
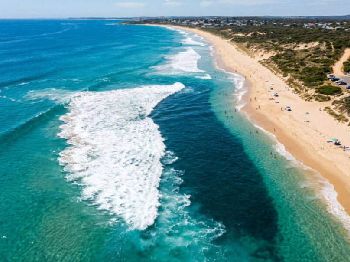
Pick the right bank. Faces of 1 to 1.5 m, an incoming tide filling the sandbank, and offshore or light cross-shore wind give you a clean wall to work with.
Check the entry bar. You should already be taking off at an angle on chest-high beach or point waves without pearling or falling in behind the peak.
Time the tide. A bank that dumps at low often holds a workable wall two hours into the push, so plan around the tide times for your beach.
Phase one: preparation
Angle your take-off. Point the nose slightly down the line rather than straight at the sand, so you arrive in the trough already carrying fall-line speed.
Move your eyes early. As the board begins to plane, shift your focus off the water directly in front of you and out to the shoulder you want to reach.
Surfing Australia treats the bottom turn as the foundational manoeuvre in its coaching pathways, because every turn above it inherits the speed and the line you build here.
Phase two: initiation
Let the board level. The drop is not the turn, and the rail cannot engage while the tail is still loaded from the take-off and the nose is pointing downhill.
This is the fault almost nobody spots in their own surfing: the turn is attempted during the descent, so the board pivots off the tail and the rail never bites.
A bigger, harder carve is not the fix, because adding force to a board that has not levelled only pushes the tail out and spins you into the whitewater.
Wait the extra half second until the board runs flat along the trough, then begin the turn.
Level first, then lean. A rail cannot bite a board that is still falling.
Phase three: commitment
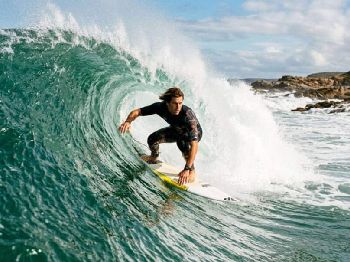
Compress through both feet. Bend at the knees and ankles, keep your weight centred over the middle of the board, and lean your body into the inside rail.
Commit the rail, not the tail. Feel the inside edge dig in and hold, because that bite is the load you convert into projection up the face.
Phase four: execution
Look through the turn. Mick Fanning's public coaching keeps returning to the same cue, which is to look where you intend to go rather than at the lip above you.
Your shoulders and hips follow your eyes, so a head locked on the lip produces a short, steep arc that stalls instead of projecting you along the wall.
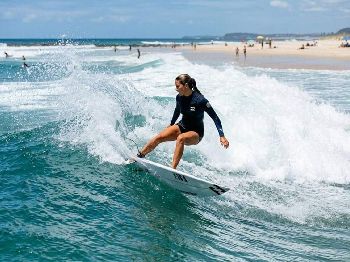
Hold the arc. Draw one long, smooth line from the trough up towards the shoulder instead of snapping the board around in the broken water.
Phase five: recovery
Unweight at the top of the arc. Rise slightly out of your compression as the board points along the wall, releasing the stored energy into forward drive.
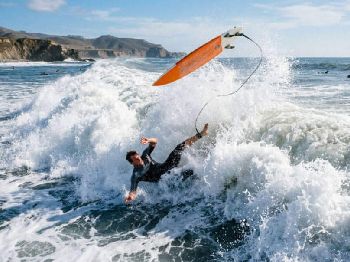
Read the feel. Done right, speed increases and you feel thrown high up the face; done wrong, the board bogs, stalls, or spins out in foam.
Five faults, and what to do about them
Turning on the drop. Caused by impatience and a tail-heavy take-off stance, so correct it by counting one full beat after the nose levels before you lean.
Staring at the lip. Caused by wanting to hit something immediately, so correct it by picking a point on the shoulder and keeping your chin over your leading shoulder.
Too much back foot. Caused by surviving the drop with your weight parked over the tail pad, so correct it by sliding the front foot forward and loading it through the arc.
Standing too tall. Caused by stiff ankles and straight legs, which leaves no range to push against the rail, so correct it by dropping your hips low before initiation.
Rushing a snap. Caused by trying to finish two manoeuvres at once, so correct it by letting the bottom turn run all the way to the top of its arc before you redirect.
Safety and priority
Choose your canvas. A dumping shorebreak gives you no face to project onto, and a crowded inside section gives you nowhere safe to put the board.
Respect the pocket. The surfer deepest and closest to the breaking part of the wave has priority, so never set a rail across their line.
What opens up next
Once your bottom turn holds speed instead of leaking it, the cutback becomes available, because you finally carry enough drive to arc back towards the pocket.
The first floater also comes into range, since a projected bottom turn delivers you to the lip with the board already pointing along the wall.
How long should the bottom turn take?
Longer than feels natural, because most surfers finish the arc in half the distance available and lose the projection the extra metre would have given them.
Front foot or back foot?
Both, with the front foot holding the board flat and driving forward while the back foot guides the rail rather than stamping it into a pivot.
Why do I spin out at the bottom of the wave?
Almost always because you leaned before the board levelled, which lifts the fins out of solid water and lets the tail slide away.
Should I practise on small days?
Yes, since clean 1 m faces give you a forgiving wall where you can repeat the levelling pause until it becomes automatic.
Log your session notes and swap bank and tide observations with other surfers in the Seabreeze forums .