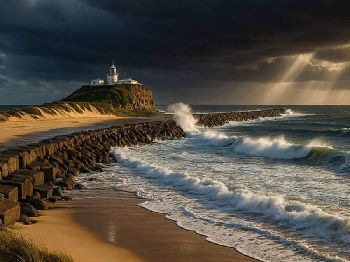
Newcastle Radar: Hunter Coast Guide
Track Hunter Coast weather using Newcastle radar
How-to guides, tips and tricks
Track Hunter Coast weather using Newcastle radar

GDog shares how he handmade made his own kiteboard, from scratch

SUP Australia Tour dates are confirmed for the 2012/2013 season!
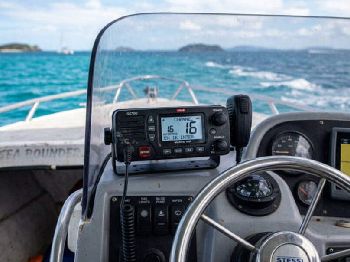
VHF channels, Mayday procedure and MMSI tips
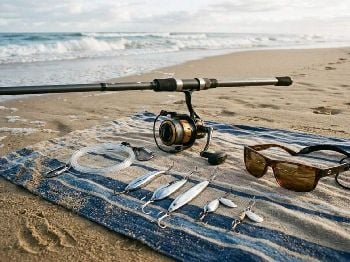
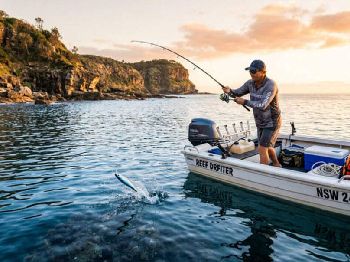
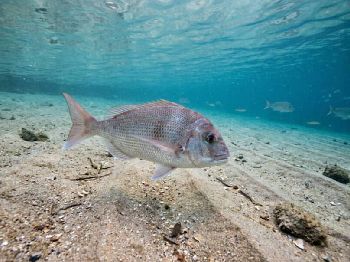
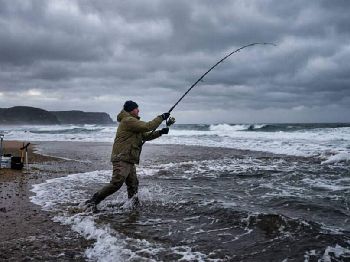
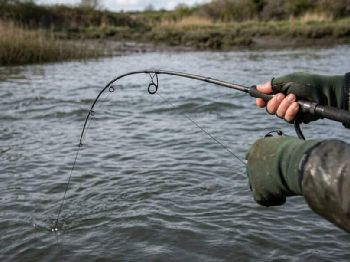
Find, read and catch salmon from shore
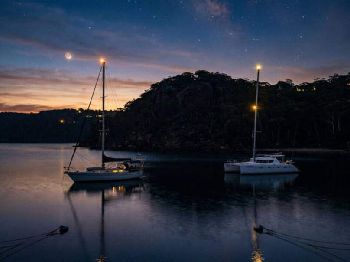
Scope, seabed, and staying put all night
Need to find a kiteboarding store or kiteboarding school for lessons - all stores listed here
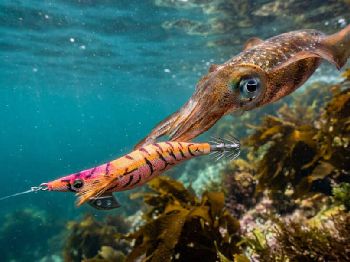
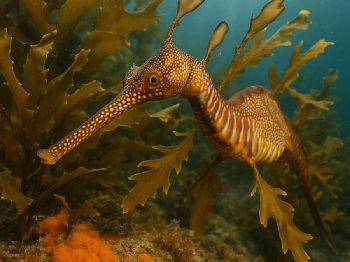
Cold water, clearer and full of calamari

Wollongong's coastal conditions explained

The second of two articles on tips for taking better photos of your fish.
Victoria Soloveykina shares the goodies on how..
Awesome tutorial on the basic of standup paddle, and a segment from the TV show "Totally Wild", an introduction to Standup Paddle
With a dizzying array of SUP boards on offer, how do choose which one is right for you?

Green weed float fishing for blackfish in July
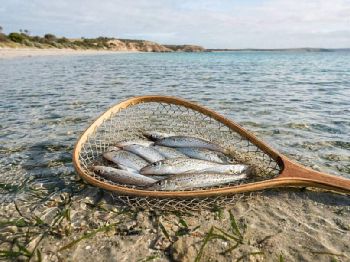
How to find and catch surf salmon in winter
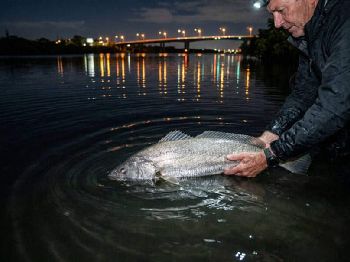
Target jewfish using tide and structure

Going away on a kiteboarding trip can be a total disaster if you don't pack your kite properly.

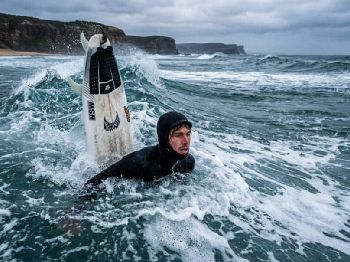
If you've never kitesurfed before, but love your surfing, then read on to see how you can turn those blown-out days into something amazing...
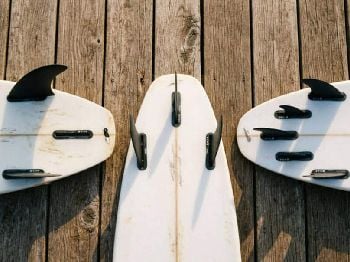
FCS II, Futures, thruster, quad - what to choose
How to kitesurf - everything you need to know - tips, tricks, gear, and where
How a fighter pilot approaches a mission is how a kitesurfer can approach a sick kite session

Long paddle, short paddle - getting your SUP paddle length right is important.. check out the idea of a shorter paddle for surfing...
Set up, structure, and lure action for YTK
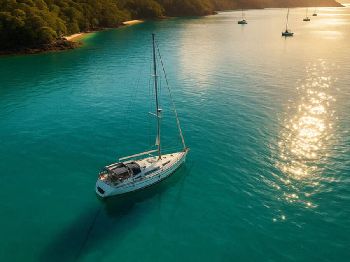
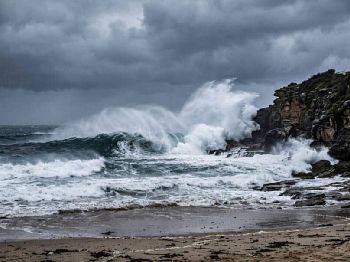
The best sailing window on Australia's east coast
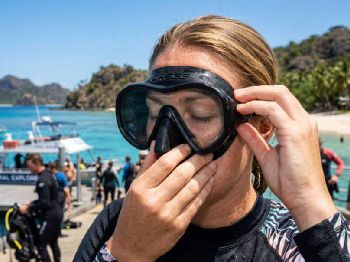
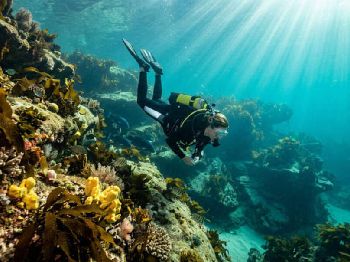
Reef snorkelling kit and technique guide

Part 1 of a series of articles of kitesurfing wave technique and tips for the Seabreeze readers by Ben Wilson

Estuary flathead when the mercury drops
Kite not handling how you think it should - maybe your line lengths aren't right...

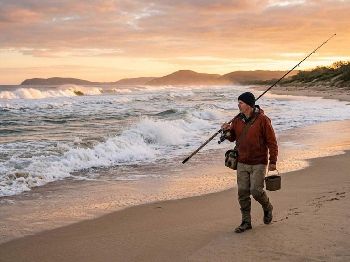
Use golden hours to fish smarter in Australia

Tips on how to get a photo worth sharing of your prized catch

In Perth, and want to get our SUPing?
Track Moreton Bay storms using Brisbane radar
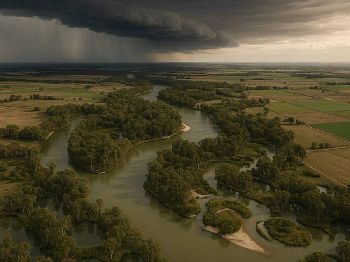
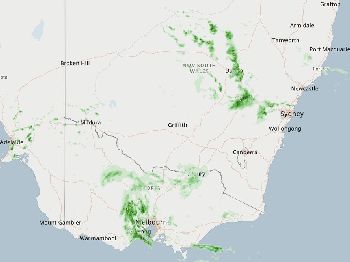
Plan your season around the BOM outlook

All the information you need to get started in Kite surfing - Lessons, Associations and getting plugged into the community...
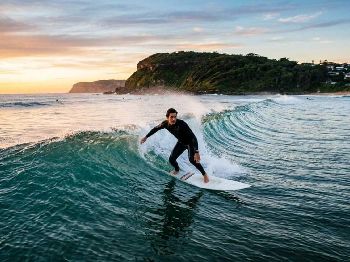
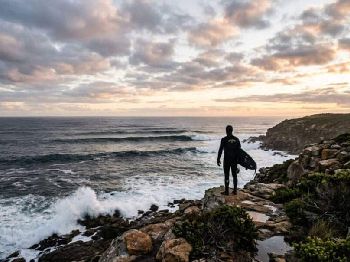
Technique and timing for overhead surf

Top Female National/International joimns the Starboard SUP AU Tea
How the Yarrawonga radar works for boaters
Finesse tactics for sand whiting in the wash

The most common problem of first time surfers. Straight legs.

Stand Up Paddle is a new sport, and already myths are developing - read on to dispell them!

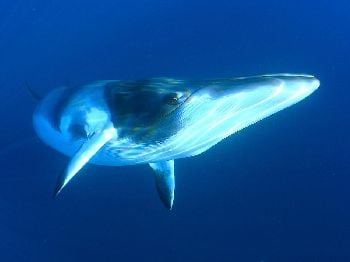
Target big bluefin from Apollo Bay this winter.

It's one of fishing's most elementary tactics and can make a significant difference to your fishing success...

Here are a few tips to help you if you plan on going to Bali to Kite.
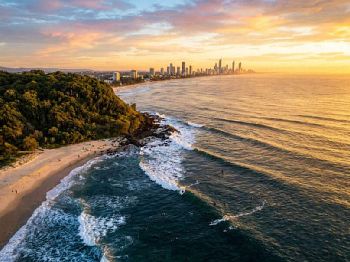
A visitor's guide to Sydney's coast in June–August

Stand Up Paddle first timers generally start with a lousy grip, lousy posture and using the wrong muscles for a power source. Read how to fix all this...

Surfing on a stand up paddle board has its own unique set of challenges...
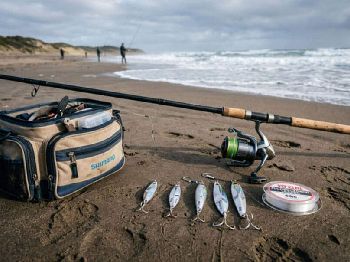
Read gutters, rig ganged hooks, fish low light
How to find and catch KGW this winter
El Nino winter: cleaner, warmer, westerly glass
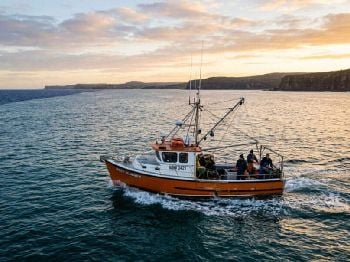
Who would have thought that such an old school boat could be so much fun?
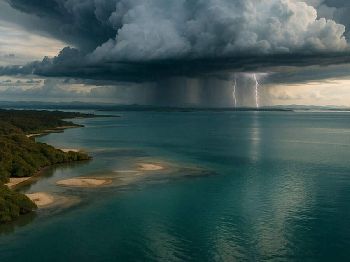
Decode radar colours and storm cells
Supplement and nutrition company based entirely for water athletes.

Read Sydney's radar for safe coastal trips
Current, tide and jig action for silver trevally

New to kitesurfing and curious about how it works? Read some of the Q's & A's in here.
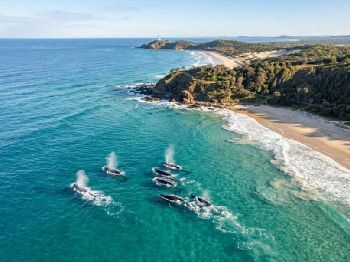
Best visibility of the year starts right now
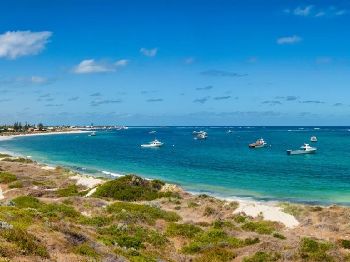
Your guide to Bunbury coastal weather
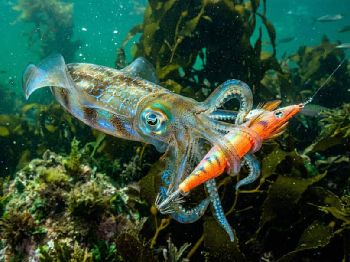
Drop the slow retrieve. Here's how to egi.
WAKSA (West Aus Kitesurfing Association) list of kiting areas
Warm water, great waves, no crowds
 Weather
 Weather
 Weather
 Weather
 Weather
 Weather
 Weather
Diving
Weather
Diving
 Fishing
 Surfing
 Sailing
Fishing
Fishing
Sailing
Sailing
Fishing
Fishing
Sailing
North dock starter, inflatable jetty launcher, as new comes with bag.
$400
14' 0" x 26 inches
- 14 x 26w x 330L - Carbon Fibre = light and strong - Watertight and...
$1,200
6' 10" x 168 Litres
The North Seek 2024 Prime Foil Board is built for riders who want a responsive,...
$1,550
5' 8"
Slingshot Wizard 125 Wing Foil Board – Great All Rounder Includes padded board...
$675
5' 2"
Armstrong Boards available: 45L also available Used once selling for $1850...
$1,850
1201 cm
Art Pro 1201, used. Light scratches only. Can ship at buyers expense
$200
5 metre
5 meter and 4.5 comes with booms and handles. Both like new in freat condition....
$1,000